I even manged to set the table between rests on the couch. It is my husbands tradition to sing "We Gather Together" before dinner. We hold hands and sing with joy, if not skill.

Coco knew something was up with the fancy placemat. She took up a post at her food bowl to see what would happen. She enjoyed her first Thanksgiving turkey and gravy.

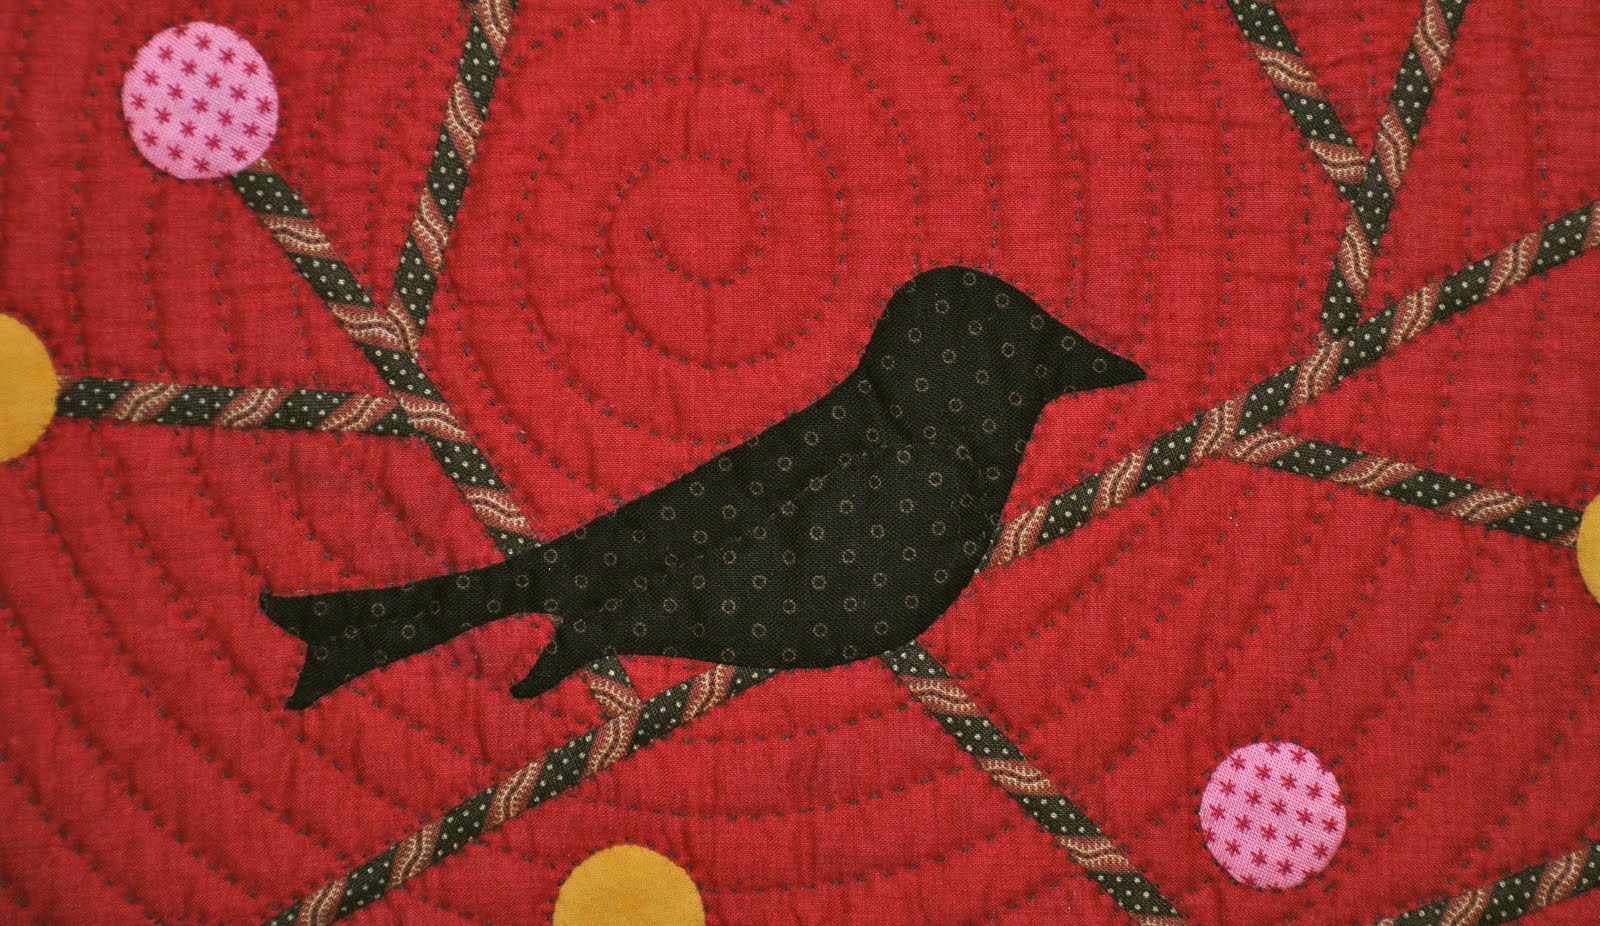
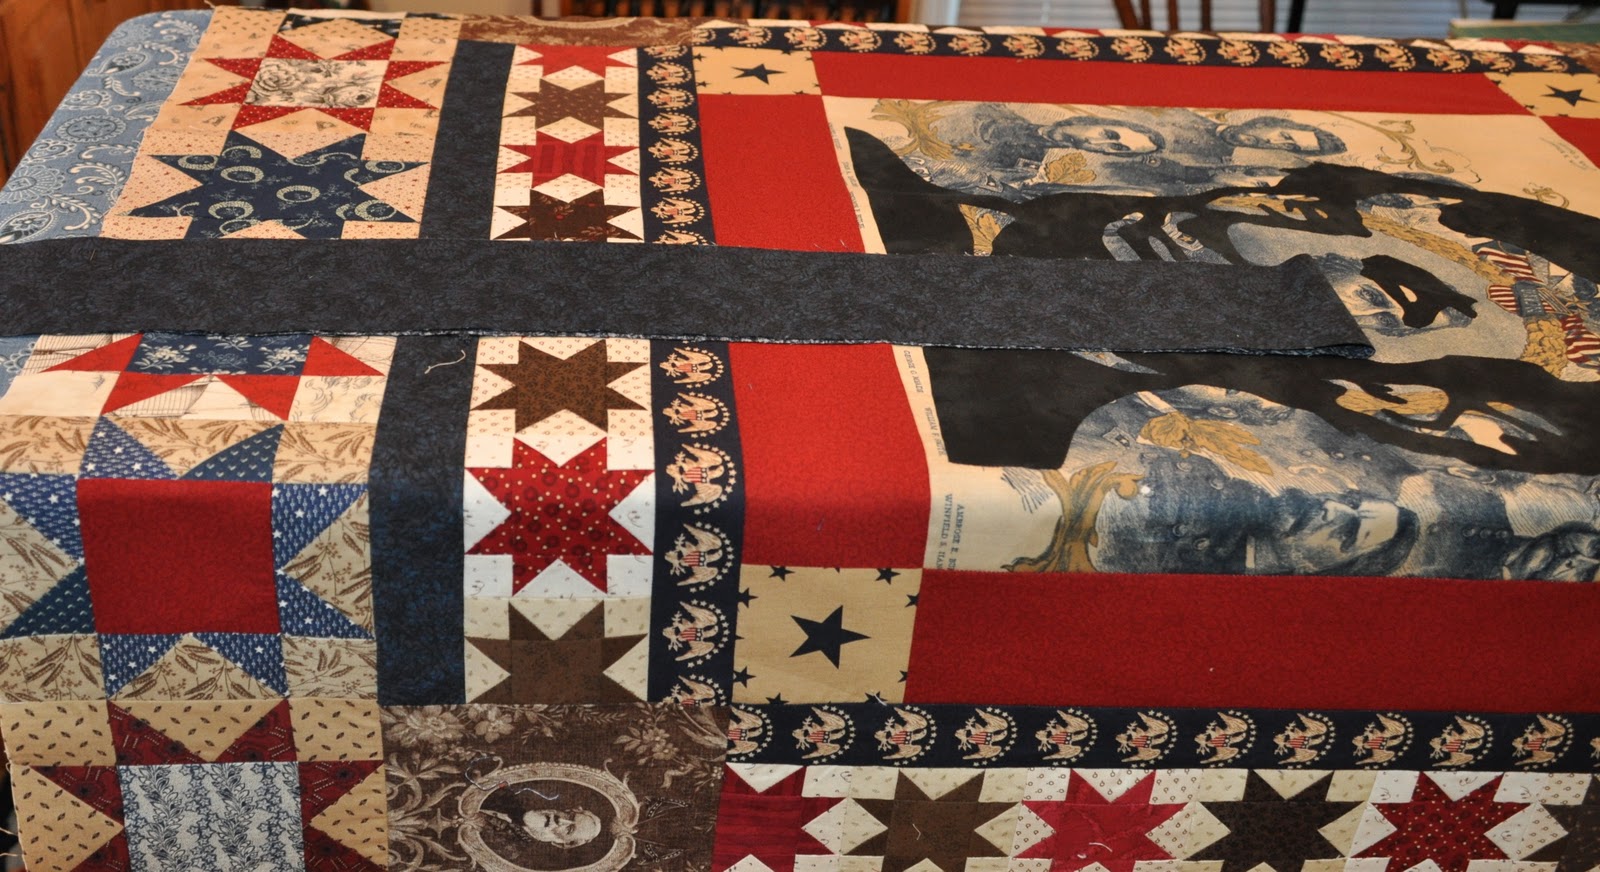
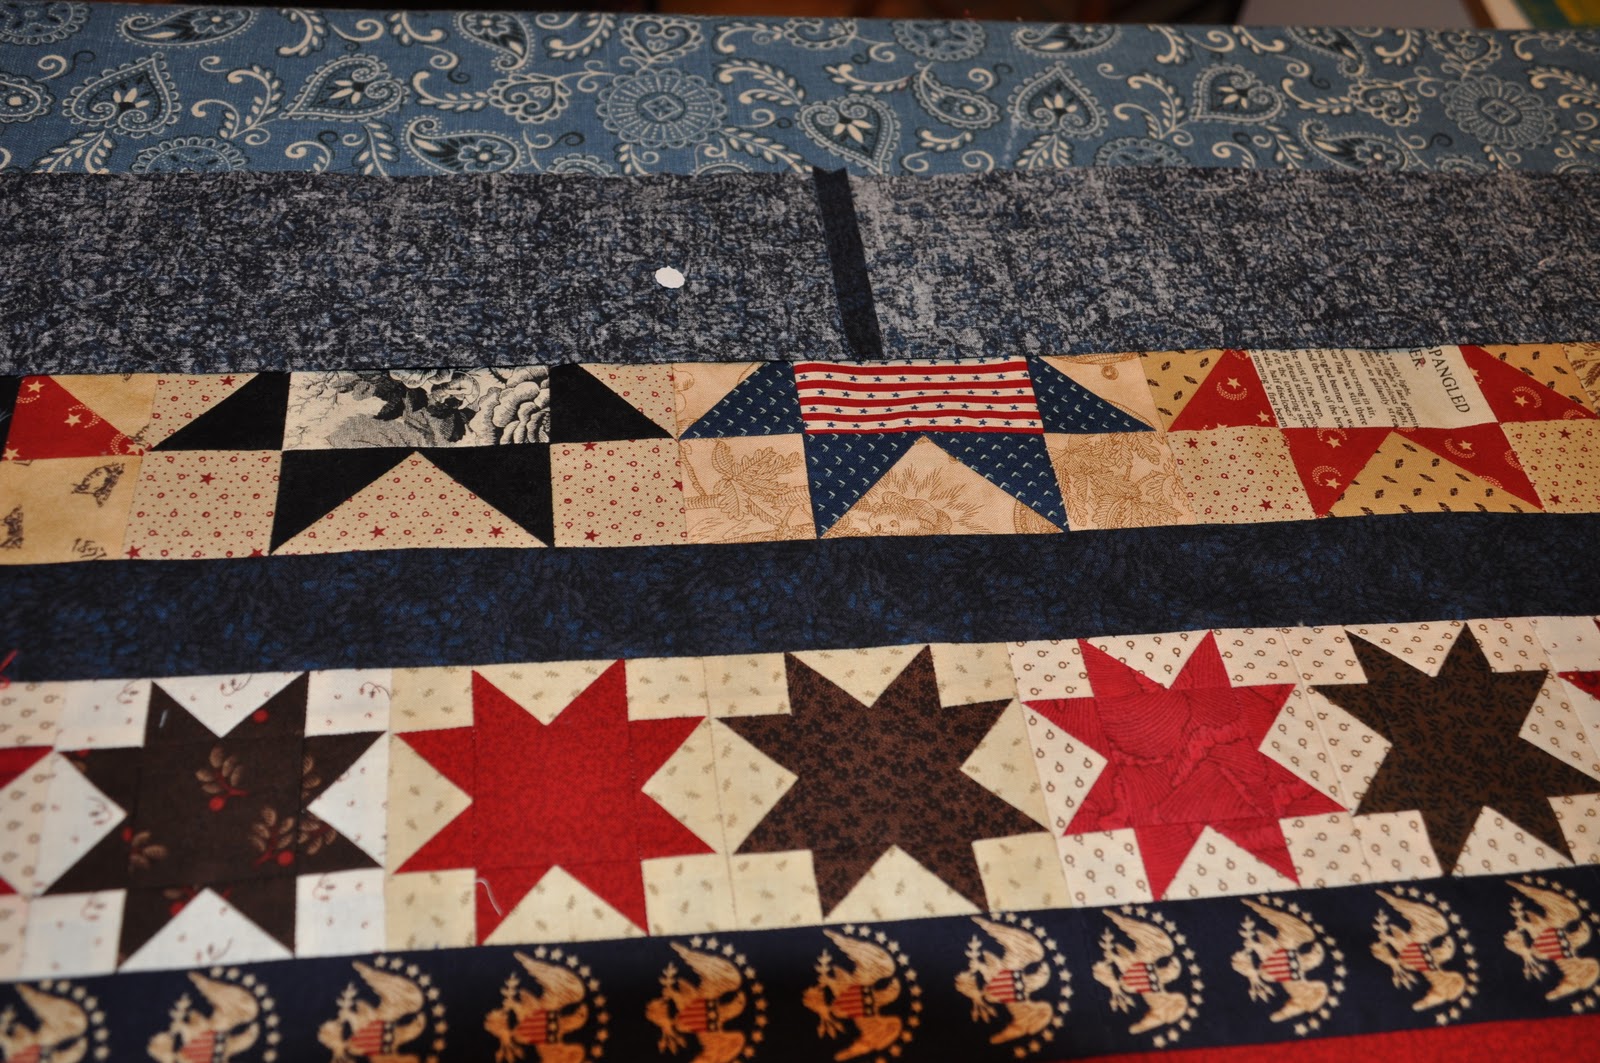
My quilting goal today is to get the last three borders on the raffle quilt. I put the first one on and attached more leaves to it on Wednesday.
One thing I have learned from helping quilt judges is that they really want to see a nice flat, square quilt. I used to just "wing it" and have had poor results. There are many ways to add borders. I developed this way of doing it and really works well for me.
I work on my "big board" ironing board, but any large flat surface will work fine. I used "Abe" as my sample.
Step 1-
Layout the quilt right side up and find the center of the quilt. Mark it with a pin, or a dot.
Step 2-
Find the center of the border and mark it with a pin.

Step 3-
Place a pin (through the border fabric only) at the center and at each end of the quilt.

I never trim any border extra off until it is sewn and pressed and squared up.

Step 4-
Pick up the border piece and re-pin the end pins to the edge of the quilt top (ride sides together) and pin the center point.

Step 5-
At this point I flipped it over and smoothed it and pinned from the pieced side. Pin the dickens out of it easing where necessary - never move the center or end pins. easing, pinning, sewing and pressing will work - trust.


Step 6-
Carefully lift it all and proceed to the machine. I sometimes use a seam ripper as a stiletto to feed the seams in the right way.

Step 7-
Press carefully. I like a lot of steam, but do what works for you.

Step 8 (final)-
Square up the corner. I use my small mat and square ruler for this.

One of the reasons I like this method over just measuring and cutting is that I can "see" everything that is happening. I also leave my border length intact until all is well, then I trim it off.
So I'm off to make a cup of tea and go to work - wish me luck. I hope if you are not shopping, that you enjoy some quilting time today.
18 comments:
So sorry you were sick on a big "eating" holiday. I've always loved the song We Gather Together. I remember singing it in music class during elementary school. What a lovely tradition. Michele
Thanks for the border tutorial! I usually just wing it, too. Now I'll be more precise!
Your method for attaching borders is the same as mine except much smarter! I've been crawling around on the floor doing the same thing - never thought of the ironing board!!
Sorry that you had the flu, but happy that you are better. Your table looked beautiful; just my kind of colors.
I'm sorry you haven't been feeling well. Sounds like the bug really knocked you out.
Thanks for a great little lesson on applying borders.
I'm happy that you are on the mend. Nothing worse than being sick when you have fun plans with the family.
Thank you for the great tutorial on making a square quilt. This will go in my "How To" folder for future reference.
Crispy
Glad you are feeling better again and happy Thanksgiving to you.
Thank you also for your lovely comments on my blog, yes I have been busy and still trying to upload pictures from Houston that I took with the camera, all the ones for now have been taken on my phone.
Have a great weekend
Christine
That's how I do it - sort of! I find the centres by laying the top flat over the back of the sofa otr on the floor, mark with a pin and then do the rest with the top on my lap. Tables are too low for me as I'm tall,but I never thought of using the ironing board, so thanks for that idea. .
Hey, it looks great Mary!! How fun to be at the borders of this wonderful quilt!!
Thanks for the tutorial. Wow, you do use a lot of pins.
I'm so sorry you've had the flu. It's especially hard at holiday times. Your table was set beautifully though, I love your Turkey dishes! Even your butter was Turkey shaped? :)
Thanks for the tute on adding borders. I usually lay the top out on a bed and measure through the center and through a couple areas near the center. It's wonderful when the measurement is the same throughout. LOL..if not I take an average. I like your idea of adding a bit extra and trimming after sewing for a good square corner.
Sorry you were feeling punky during Thanksgiving, but your table looked beautiful. (What was that goofy quote from Saturday NIght Live..."It's not how you feel, but how you look.")
Great tips about adding borders...very important step. It's something I constantly worry about...very nice to see how other quilter's tackle ticklish techniques!
In stitches,
Teresa :o)
Your Thanksgiving table looks so pretty. I'm sorry you were feeling puny on Thanksgiving -- I hope you're fully recovered now and rarin' to go!
Great tutorial. I'll have to try it if I ever get a top done!
Thanks for the nice tutorial. Very helpful. Glad you had a nice Thanksgiving, hope you're over your bug.
Thanks for the tutorial!! Love that quilt. It is wonderful. Sorry you've not been feeling well.
Hugs
Flu + a holiday = the pits.
But what can we do? Glad you're feeling better. Your table was lovely.
Your border tutorial is clear, precise, and worthwhile for everyone to read and follow. I follow these same steps now, after having too many wavy results.
Did you see Kaffe Fassett 2010 Folk Art fabric? It reminds of your quilt (from his quilt from teh VA). It comes in neat colors and when I saw it I thought of you.
My eye caught those turkey dishes. Perfect for Thanksgiving.
Oh my goodness! Impressive article dude! Thanks, However I
am going through problems with your RSS. I don't understand why I
can't join it. Is there anybody else having identical RSS
problems? Anybody who knows the solution can you kindly respond?
Thanx!!
Post a Comment