Monday, August 30, 2010

Give away - Red & Orange again??

Happy Monday -

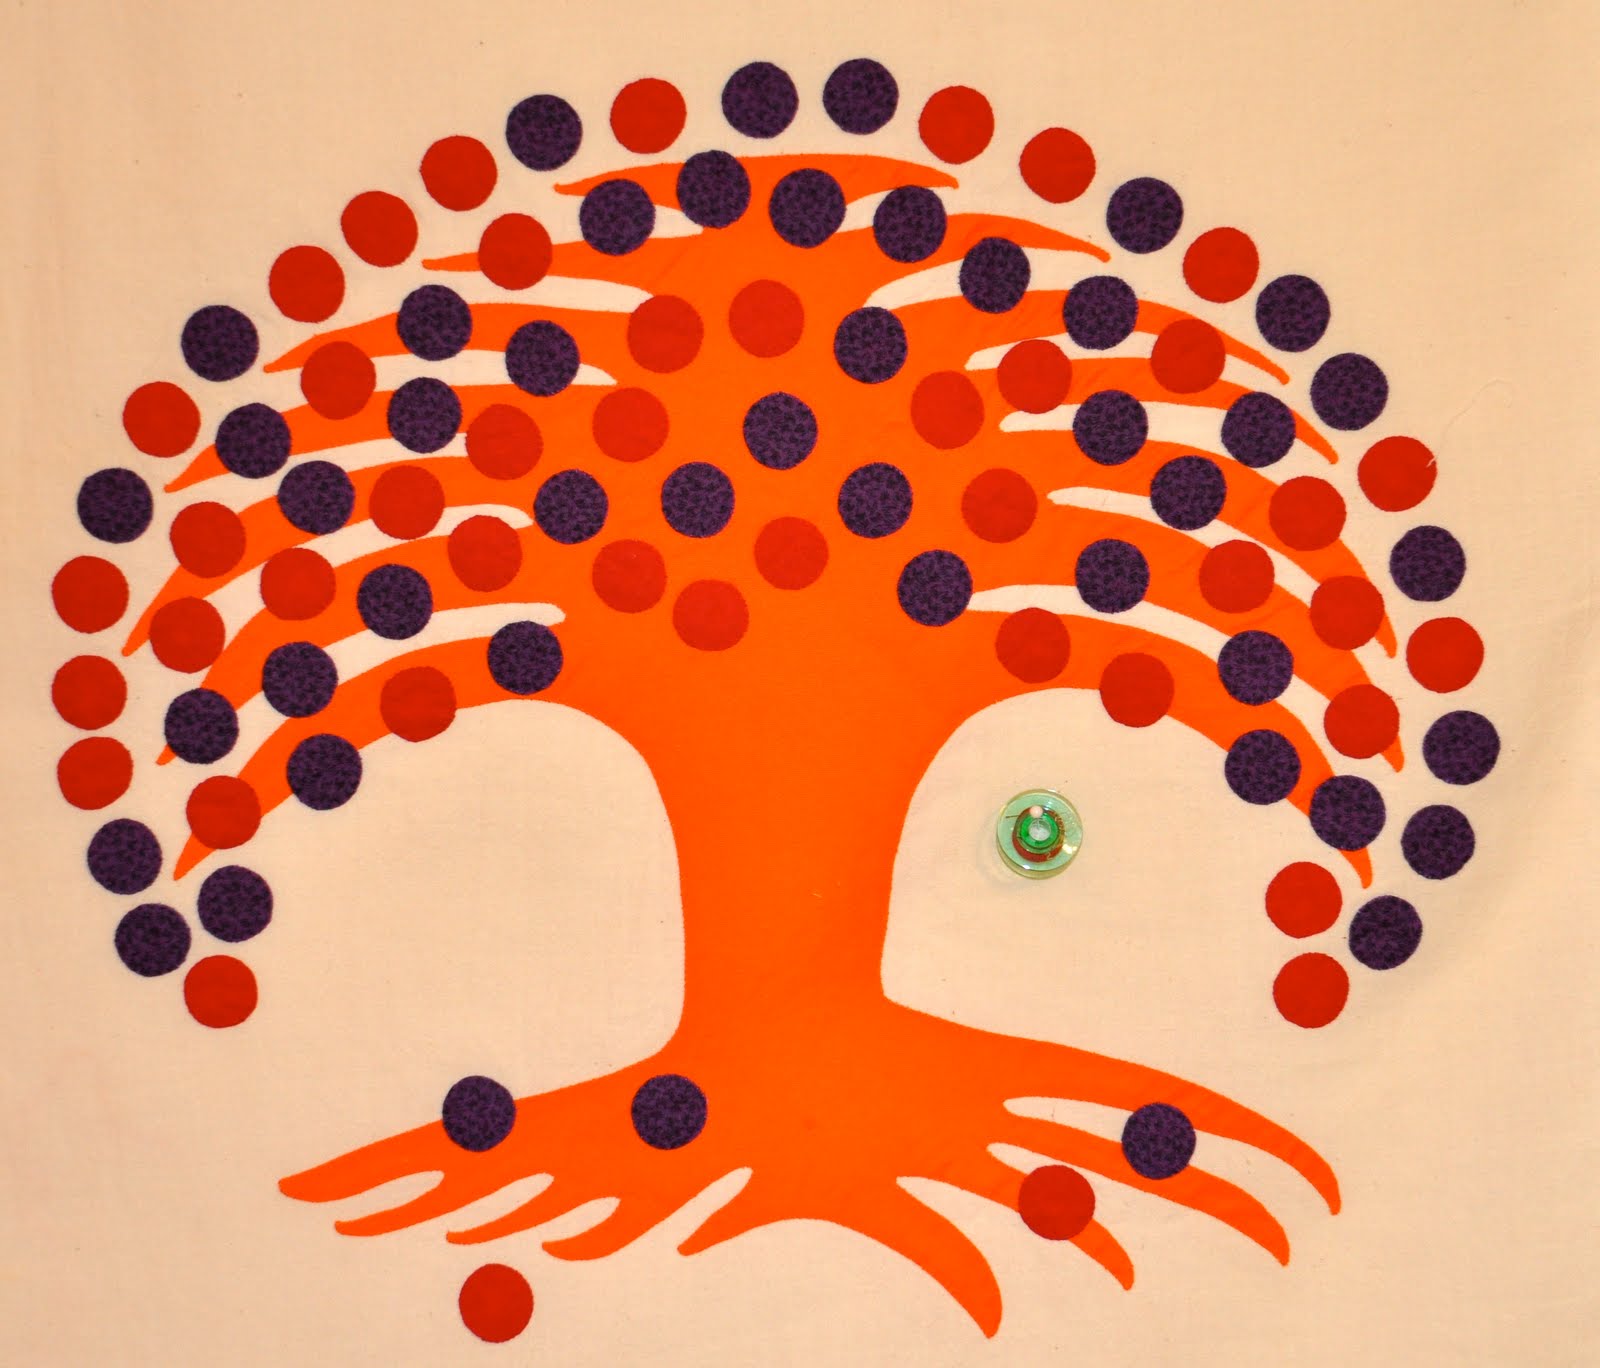
Thank you for all your comments on my Orange Series and for entering the giveaway.


I've added a few more goodies to the fall basket, including chocolate.  Good luck to everyone.

I'll close the giveaway tomorrow and announce. the winner on Wednesday.

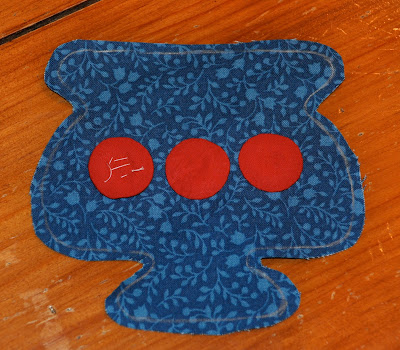
A couple of years ago I had two challenges, one with my small group, which was "Baskets" and one with the Garden State Quilters, which was pulling 2 crayons from a big box.  Can you believe I pulled out a red and orange crayon?  What were the chances.

Here is the little quilt that I made with red, orange and baskets.


It doesn't have berries, but I did try prarie points for the first time.  Here is a close up of the quilting.  On the partial baskets, I decided to quilt the the missing parts.  You can see that here.


For the backing I used this fun Asian fabric -


 Okay, now you really have seen all my orange quilts - whew!

See you on prize day, Wednesday.

Friday, August 27, 2010

Orange, Purple, Berries and Red all over......

Warning - the color combinations in this post may be disturbing to some viewers.

It all started at Gwen Marston's Beaver Island Retreat in 1996.  A group of retreaters decided to have a little challenge.  We picked the color orange, that was the challenge, use orange.

I decided to do a twist on a traditional block and this is the quilt "Orange Horse Feathers."


This is the back - a funny Halloween print.

 My friend, Laurie made the label of  dancing skeletons (this ones' for you Tonya).


I had so much fun doing this one, I decided to make another one on my own.  This is the second one "Alleluia".


My friend Mary B. said she always thought "Alleluia" when she saw these trumpets - so this is what I did on the back.  Was she surprised at the time!  Shame on me, no label, must fix that!


I appliqued it by machine with raw edges.  You can see it here.  There is a cool and easy way to do this and maybe I'll do a tutorial some day.


Well, after two, why not round out the series with a third.  I decided to go a little berry crazy on this one.  Okay, a lot berry crazy!!


These are small berries, smaller than a bobbin -

 
I think I'll use this beautiful Kaffe fabric and quilt this up this winter, it's been around for years, probably 10 as a top.


Giveaway!  We've had over 100 posts - I can't believe it~
Thank you to everyone who has been encouraging and left such nice comments and helped me along the way.  I'll be adding a few more things to the basket this weekend.


You up to 4 ways to get your name in the hat:

Leave a comment on this post.

Become a Follower (if you already are, let me know).

Add a link on your blog about the giveaway (and let me know).

For a bonus chance, email me at barb.vedder@gmail.com and tell  me 3 of things the quilts have in common.  There are more like 5 things, but some are harder to detect on the computer.

If you don't have a blog account, you can email me and I'll add your name.
Good Luck!

Thursday, August 26, 2010

We Interupt this regularly scheduled program...

Hello -

I was in the middle of writing a blog article about berry quilts and offering a give away, when suddenly I was informed that I was "out" of photo privileges.

Ooops.  Didn't know, how about a warning Google?

I've purchased more space and apparently it takes 24 hours to get it.  One second to cut you off, 24 hours to re-instate you.   Sounds right.

So, I'll be back with my first give away and photos soon.

Tuesday, August 24, 2010

Berries and cherries

Hi Everyone -

**Aliens have attacked this post and added numbers for reasons I can not explain - please disregard - hopefully they will go away on the next post. **

So, it occurred to me that I haven't heard much about Project Runway  in the blog world.  I for one am loving this season!  I think the contestants are talented and the challenges have been good.  I loved the party store challenge!  I'm also loving that the show is running 90 minutes.  I'm was happy to see Micheal win last week and miss braggy brag not.....meow!

Christine of Once Upon a Quilt mentioned that she was starting a scrap Double Wedding Ring quilt and wanted to use 30's.  I had just finished my 30's challenge and I sent her some leftovers and a small package of pre-cut squares that I had on hand.  Christine sent me this in return!

I had mentioned an interest in it a while back because it contains lovely grandmothers flower garden blocks.  I love these vintage fabrics!
As part of a challenge, she had to use something she had, so for the back she used signature blocks.  Double win!  I LOVE signature quilts and have made several.  These are great blocks!


I've been enjoying it on my table, thanks Christine!


So, where are the berries and cherries??

Crispy Quilts did a tutorial recently with great photos.  There are many ways to make these, whatever works for you, is for you.

Here is a step out of how I make my berries.   I'm not sure where I learned it, but I've been doing it this way for a long, long time.  Once I was cutting out the circles on an airplane and the man next me asked what I was doing.  I replied: "Making a Quilt", he didn't talk to me anymore....

First I gather together circle making items.  The green plastic templates are great, but I've used spools or anything that is perfectly round.


Using a mechanical pencil, I draw the circles on light card stock.  I pull these out of magazines - free is always good ;)


I use kids scissors for cutting them out.  The thicker blades make good edges.  One hint, move the paper, not your scissors, it really does work.


I cut out several thicknesses of fabric at a time.  I eyeball a scant 1/4 inch around the paper rounds.


I sew a running stitch around the circle.  


I insert the paper circle and cinch it evenly around.  I bring my thread up on the the right side of the fabric and knot off.  This helps me not loose tension at the end.


In no time at all, you have a nice pile of perfect little berries.  The next step is to press and starch them.  This is what I like:


I keep the papers in my berries until I sew them on my project.  When I'm ready, I pop out the paper (you can pinch it or fold it because these are "one use" papers) and pin or baste them down.
Here is one that is basted and two that are sewn on.


I love adding berries and cherries to quilts, they are whimsical and fun!

Later this week I'll post photos of quilts where berries are the main event.  Until then, happy stitching!
avandia lawsuit

Tuesday, August 17, 2010

Four Patch Posie

Hello!
This is a new project that I started with Pauline and Susan who came over sew recently.  It's called "Four Patch Posie".

This is a four patch posie project.  It is similar to a stack and whack, except it uses only four squares of fabric.


Here is one that I made a couple of years ago and gave as a baby gift.

You can see the original fabric on the borders, but in this case it's difficult to see because it all looks the same.

The way this is done is you layer 4 repeats of a pattern, it's best to have at least a 12" repeat, wider is better.  You stack them up and match the pattern and cut 3 1/2" squares through all layers.


Each stack can be assembled 4 different ways by turning the squares.  Choosing the block design is the funnest part.


 Here is Pauline's, she is using a panel.  I love how cheerful and graphic it is.


This is Susan, her print has a garden theme.  I quite like it, but Susan wasn't thrilled and is going to do something radical and fantastic with hers.

Here is mine.  My print has elephants and Shiva's on it.  I have big plans that will include crystals and borders.

Here is another setting that I auditioned.


Which do you think works best? 

Here is a baby quilt that Susan made for her a new niece that is on her way.  It is made of half square triangles.  So cute, Susan!


And finally, here are views of Pauline's beautiful finished Bali bag.


Have a great week everyone - I'm off to the mid-west to look at Colleges, just have to get together some applique' to take with me!
andia lawsuit

Monday, August 9, 2010

While the Cats Away.....

The Mice Will Play!


I decided that since I was home alone for the long weekend, well home with coco, I would "cheat" on my 3 active projects and make something just for fun.  This is my new little doll quilt and it was so fun.


Here is it on my little doll bed, all dressed up with a matching ruffled pillow sham.  (That Annie could use a hair brushing!).  I think my coco has been a little jealous of all the time I've spent with this little quilt.


Here is how it started and the steps to complete this project. 


The Top
Finding this beautiful border print, with a smaller sized motif, perfect for a doll quilt.  **Note, when using a border, think of how you will be cutting it up.  Often you loose every other row due to seam allowances.


Deciding what use as a strippy, 4-patches it is.


Attaching the top border


I pin baste my small pieces with long flower head pins.  I used Dream Request batting because it has a nice drape.


The Pillow
I decided this elegant quilt needed a matching pillow sham, so I made one.  I started by eyeballing the pillow size and adding about 1/2 an inch seam allowance.  I then started on a ruffle.  I use the old double row of basting for this.  


I decided to make a split finished back to that I could insert the pillow when I want to.


Oooops,  I caught the ruffle when attaching the back.  No big thang, I just released it and re-sewed that area.


The Quilting
I decided to take this opportunity to try machine quilting with silk thread.  I used YLI and a 60 needle.  I make a little practice piece with the same materials to check the stitch.


You may think this is a waste of time and material, but I have to tell you I find it works great, I check my stitch each time I turn on the machine, change a needle, spin a bobbin, anytime I stray from quilting, I check again.  It has saved me on the dreaded "un-quilting" that can result in problems on the back.


I usually increase my top tension quite a bit and I use a "3" stitch length.   So, this looks good front and back - yea!


I do all my walking foot, straight line stitching, then I do the free motion.


Here is a close up.  My feathers still aren't as smooth or even as I would like, but I also don't practice as much as I should.  I attached my binding before quilting the outer rows.  I've learned the hard way after binding over my quilting -


Finishing
Jo Morton suggested using a single binding on small projects.  It is so much smoother and flatter and looks great.  I cut this one 1 1/4, sewed it on then pressed it,  I turned it over and pressed up a 1/8 little seam and pressed to the back to be stitched. 


Here is the back.  I used one other fabric from the Windham Line, "Folk Lore".  And the label.


Thanks coco for being so patient and spending more time upstairs than you wanted to!

And now I will return to my regularly scheduled projects and catch up on all my blog reading.