Monday, August 26, 2019

Fabulous Four Patch!

Is my son studying this quilt, or wondering why I am?
Can you believe I got this quilt for free?  I won it at my Ninigret Quilt Guild Meeting.    I've been using these books to determine how old it is.
I put it around 1830 (wendy and I agree there are fabrics as early as 1830 - and some a bit later.) It was very hard to photograph inside because of its size:  94" x 100".
It is also super fragile, everytime I move it is crumbles more.
The fabrics are fun to study and compare to the books' examples.  The 4 Patches and Plain setting blocks are 8 1/4", so the squares are 4 1/8" or about.
I'd love to propose a fabric line based on these.  Anyone have an suggestions on how to do that?  
There are many "economy" patches.  This one has been pieced 3 times.
It is quilted in a log cabin pattern that has nothing to do with the patchwork.  Interesting!
Andrew helped me to gently lay it on the grass to take some photos from the deck above.
Here are just some of the emerging patterns I noticed.   There is quite a bit of symmetry and I do love to study symmetry.
does anyone (Wendy or Barbara) know why the corners are off?
I feel lucky to have an opportunity to study this quilt.  It might be a good Swap Block idea for the next swap.

I'll be participating in the 2019 Bloggers Meet and Greet on September hosted by Benita Skinner.   There are some fabulous prizes to win and you might find a few new blogs to read.
You can read all about it here~ 2019 Bloggers Meet and Greet and Win!

Robin of I Like to Create Blog used my fan stencil to finish this beautiful quilt.   You can read the entire post here.
I whipped up this little gift quilt for someone.  I hope she likes it.
birdy backing fabric.
And "It's Happening".....fall is in the air.
see you soon
xo

Tuesday, August 13, 2019

Christmas in August

Toile' The Night Before Christmas!  66" x 66"
 At the last Clamshell Quilt Show I won a prize certificate for free long arm quilting by Debbie L.  I picked a swirly pattern.
I finished this top January 2016!!!!  yikes.  
I was playing with these in August of 2014.  They are blocks that I swapped with 3 friends from Illinois; Sheila, Kathy and Mary Pat.  You know I love a good swap!  We swapped cheddar nine patches, each combination making a pair.  We used my swap instructions you can find here.
I used two Circus themed fabrics for the backing.  It was quite a complicated piecing feat.
It is a funny "fake" Ringling Bros. print, avoiding trademark issues I assume.
I met up with Christine Wickert while at the Vermont Quilt Festival.  She is a such a nice woman and I admire her work so much!   Many of her quilts have won multiple Best In Show.  Click here to see a video of Christine. 

She had asked me to bring my quilting stencils so we had a little "boot sale".   Here is a quilt that she hand quilted for a special girl named Alice.
Summer Fun for Dogs:
I made some Pup-sickles for Coco and a visiting puppy Hoot.  I used low sodium beef stock and a few dental chews and cookies.
Coco loves them
and Hoot loved it too!
Up-cycling and paper crafts came together in a little Birthday package I made for a friend.  I'm trying to reduce my one-time use purchases so I used bits and pieces found in my craft stuff.
I always snap up old patterns from the free table at guild meetings.

I saw this construction punny "horse" on a walk with coco.  I love when people go the extra step to make something fun.
Hope you're enjoying these last days of summer!
xo


Monday, August 5, 2019

Spray Basting Wall

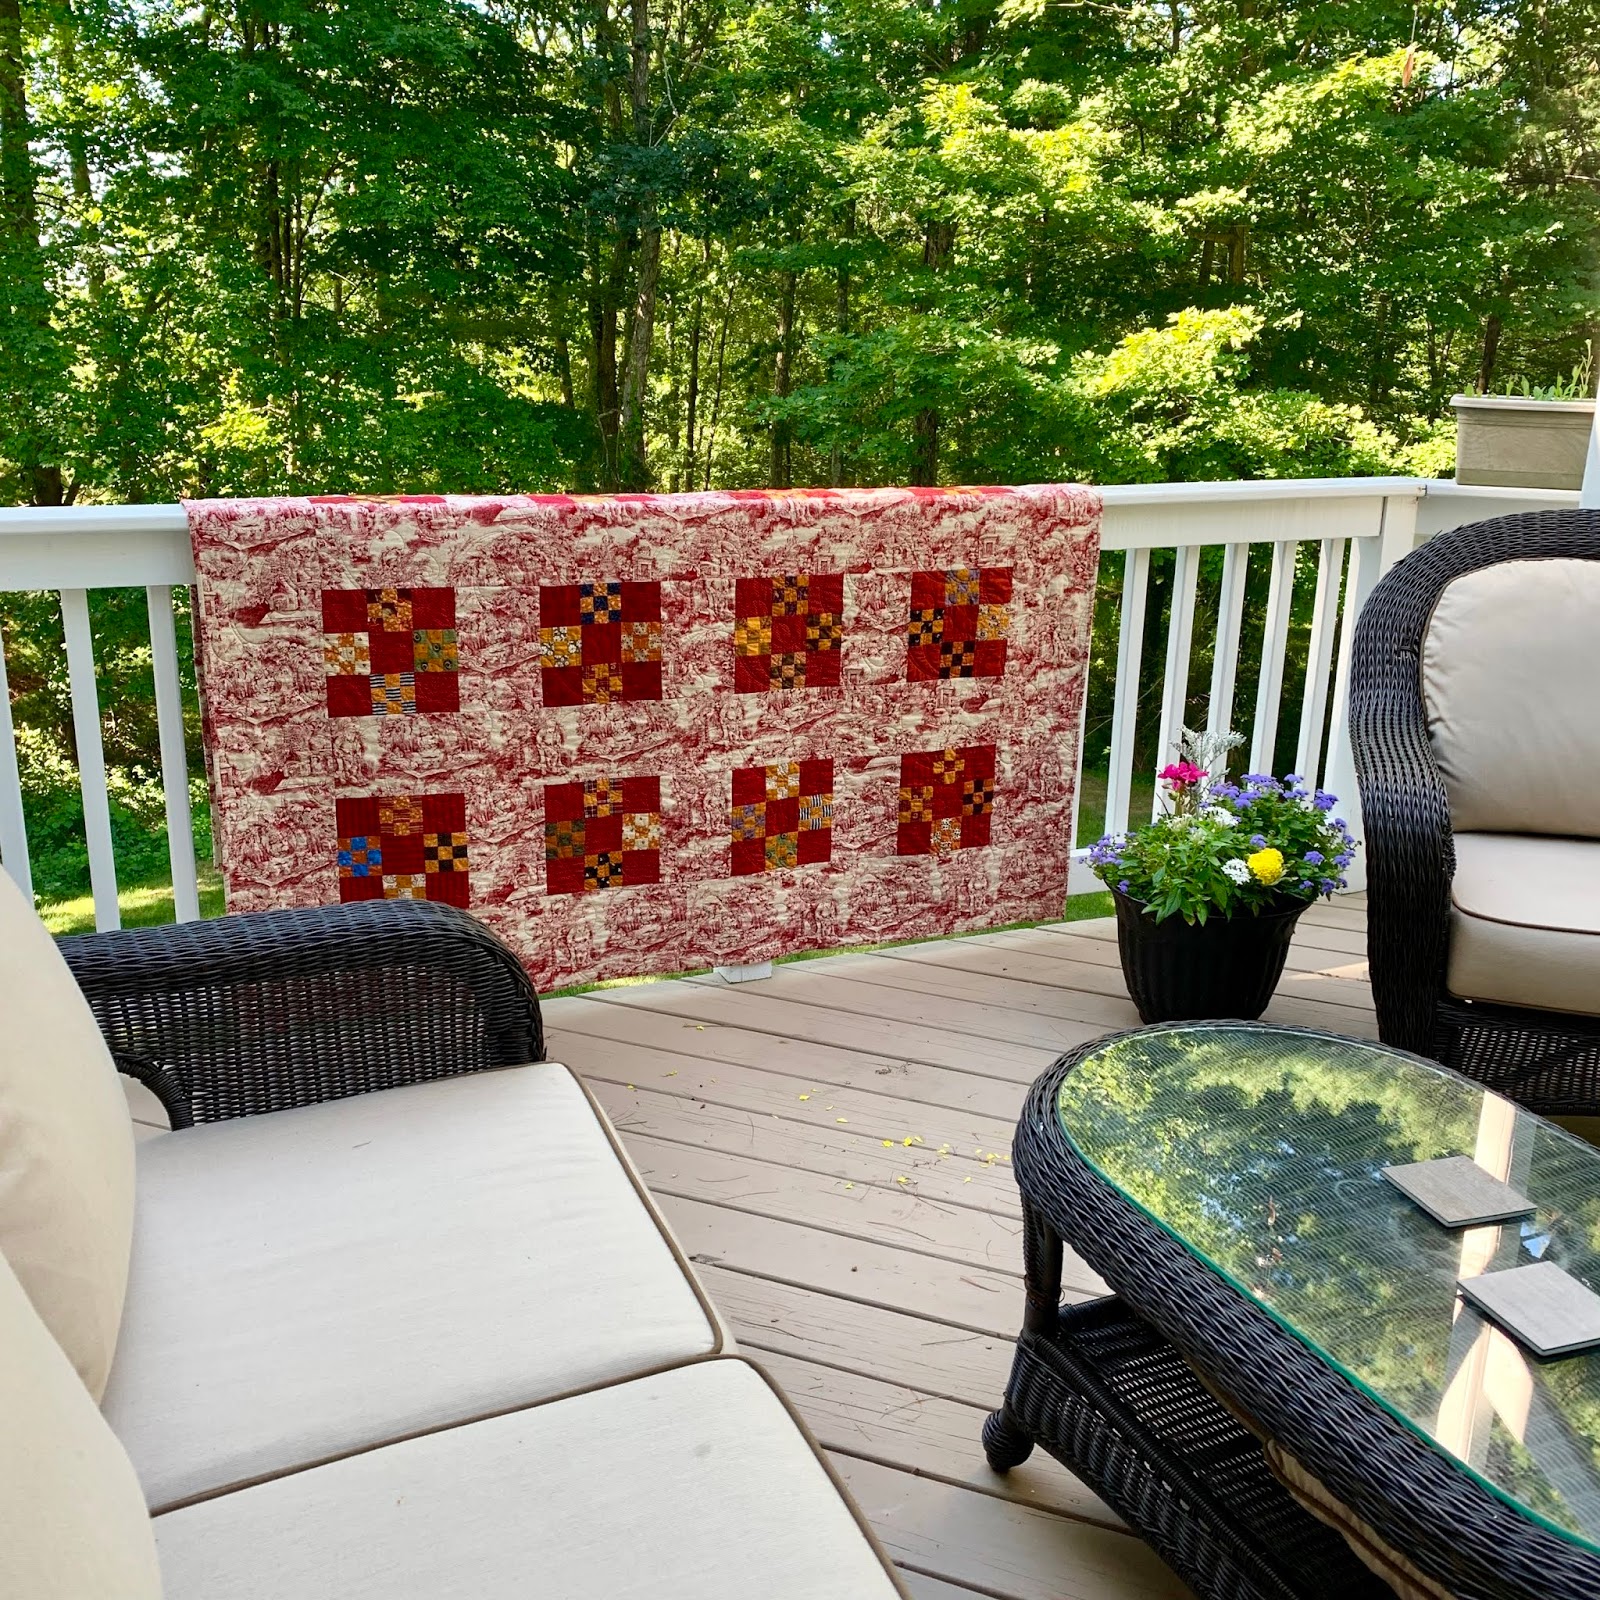
Do you spray baste?  I do, but I want to do it safely so I made an outdoor spray basting board and I'm sharing how I made it.
The hardest part was bringing the home insulation board home in the car from Home Depot.  I have a SUV and was just able to fit it along the inside of my car above my head.

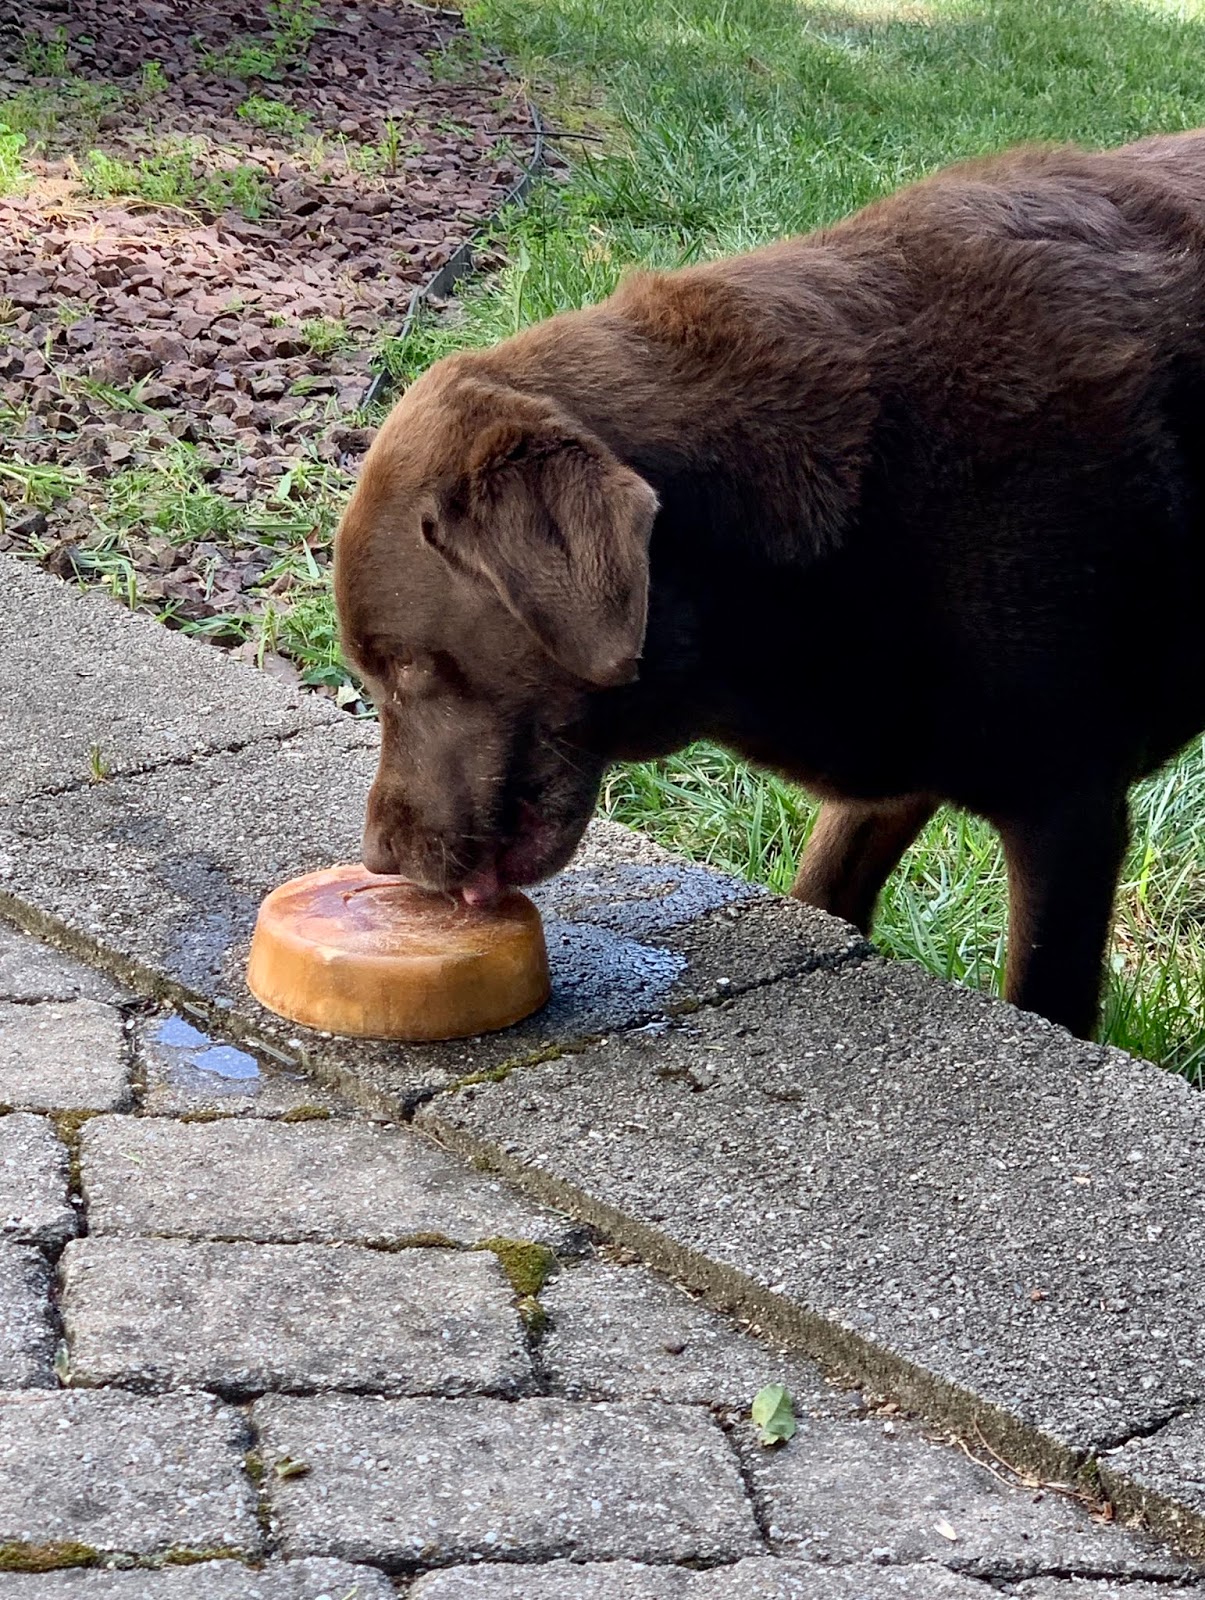
Can tell you Nutmeg was all in for this project.
I wanted a 60" board since that is about the size project that I would spray basting.  For larger quilts I use pins so I can fold and roll it and manipulate it.
Mr. Fun used a utility knife and quilting ruler.  Nutmeg supervised.  Remember the carpenters rule:  Measure Twice, Cut Once.
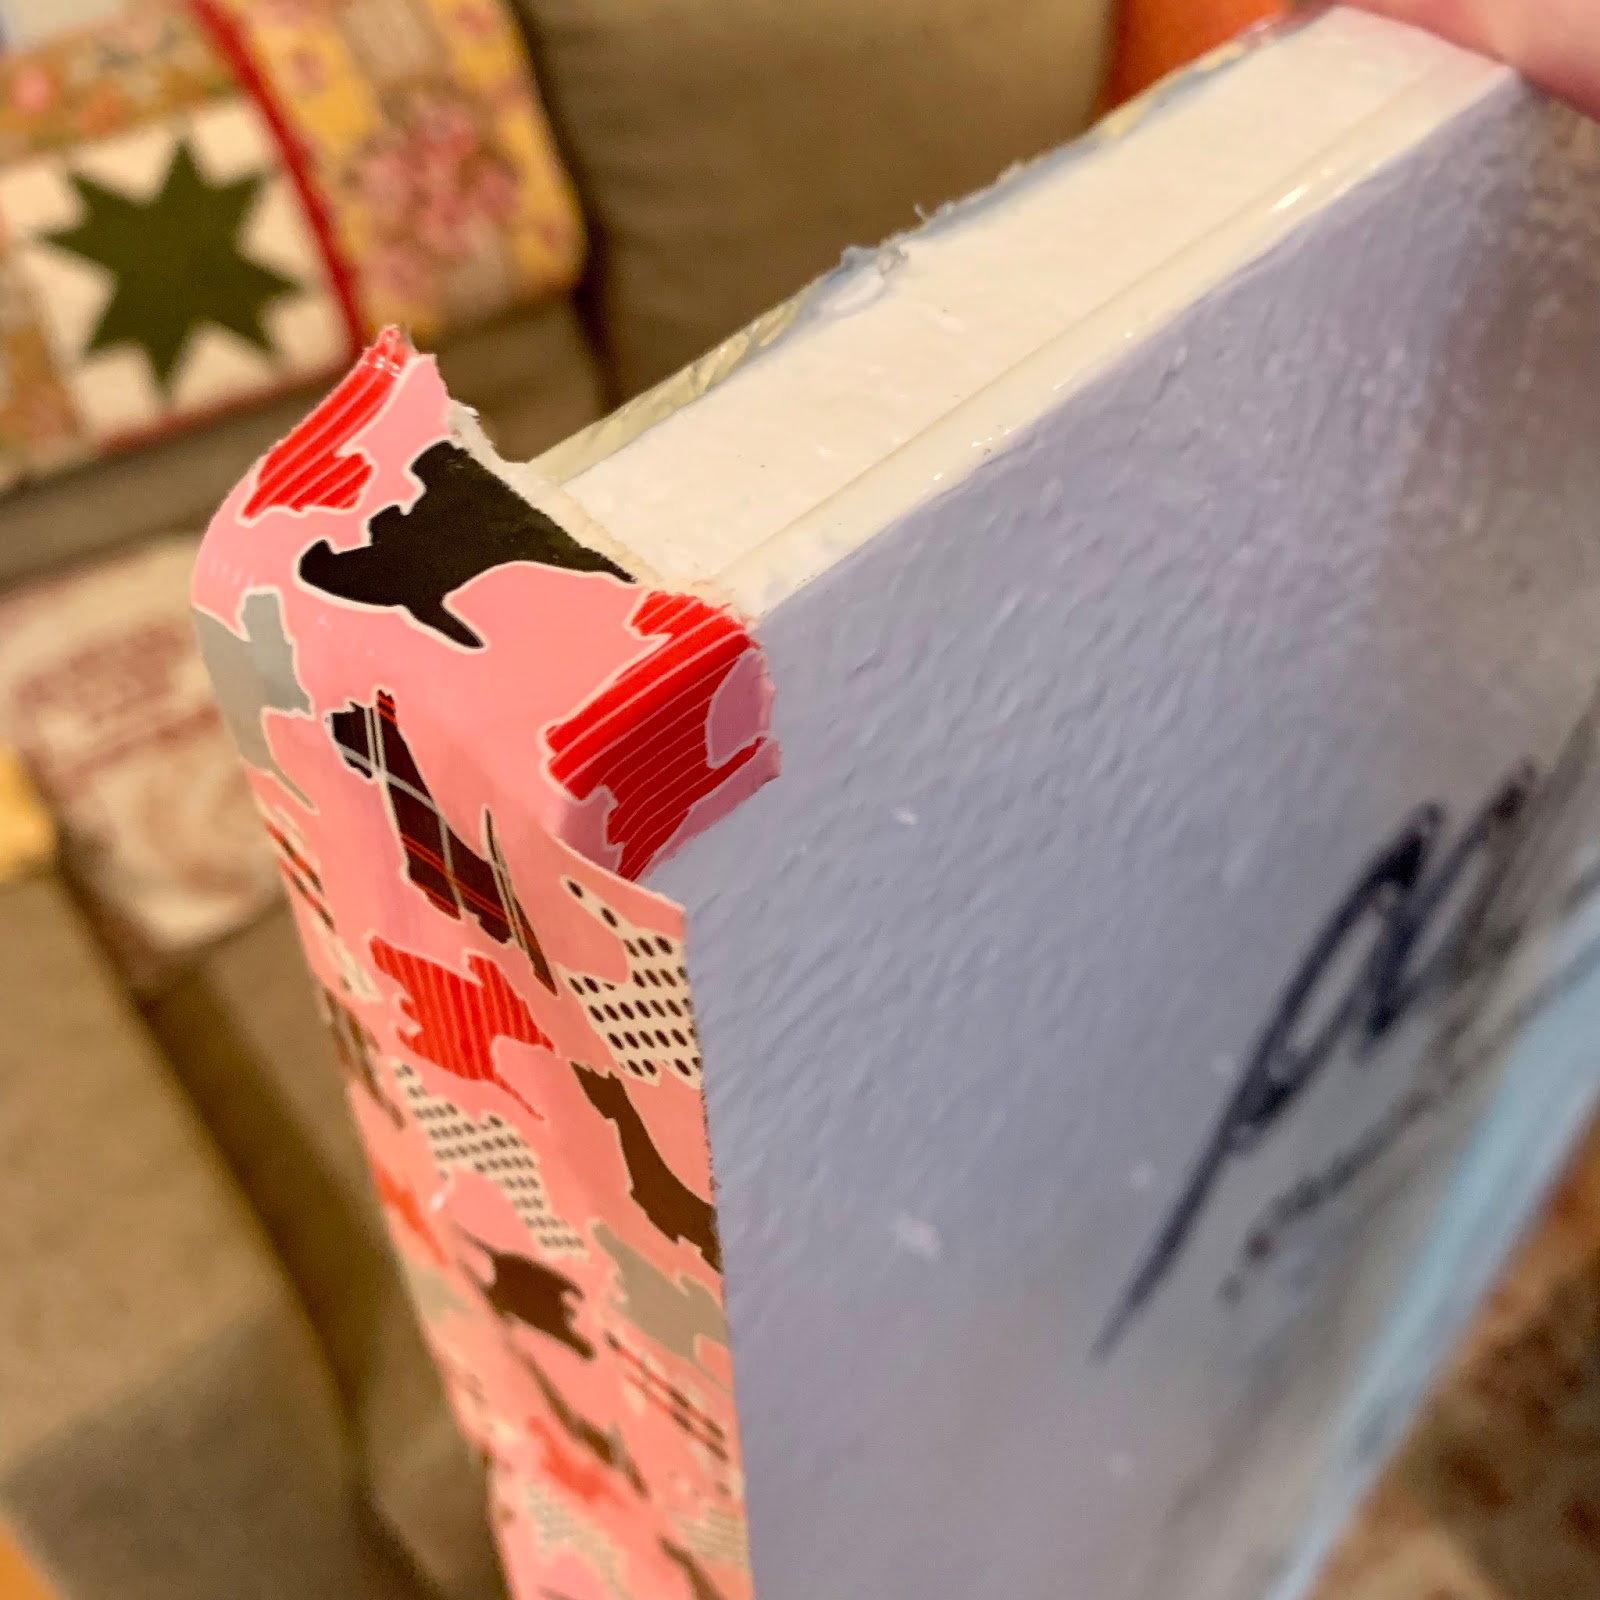
The cut edge was raggetty and making a Styrofoam mess, so I taped it.
You don't have to use cute duct tape, but I happened to have this in my sewing room (safely out of other home projects supplies :)
I cut and folded the corners to keep them neat.
Aaahh, much better.
So we taped the pieces to make a 60" square. 
 Viola'
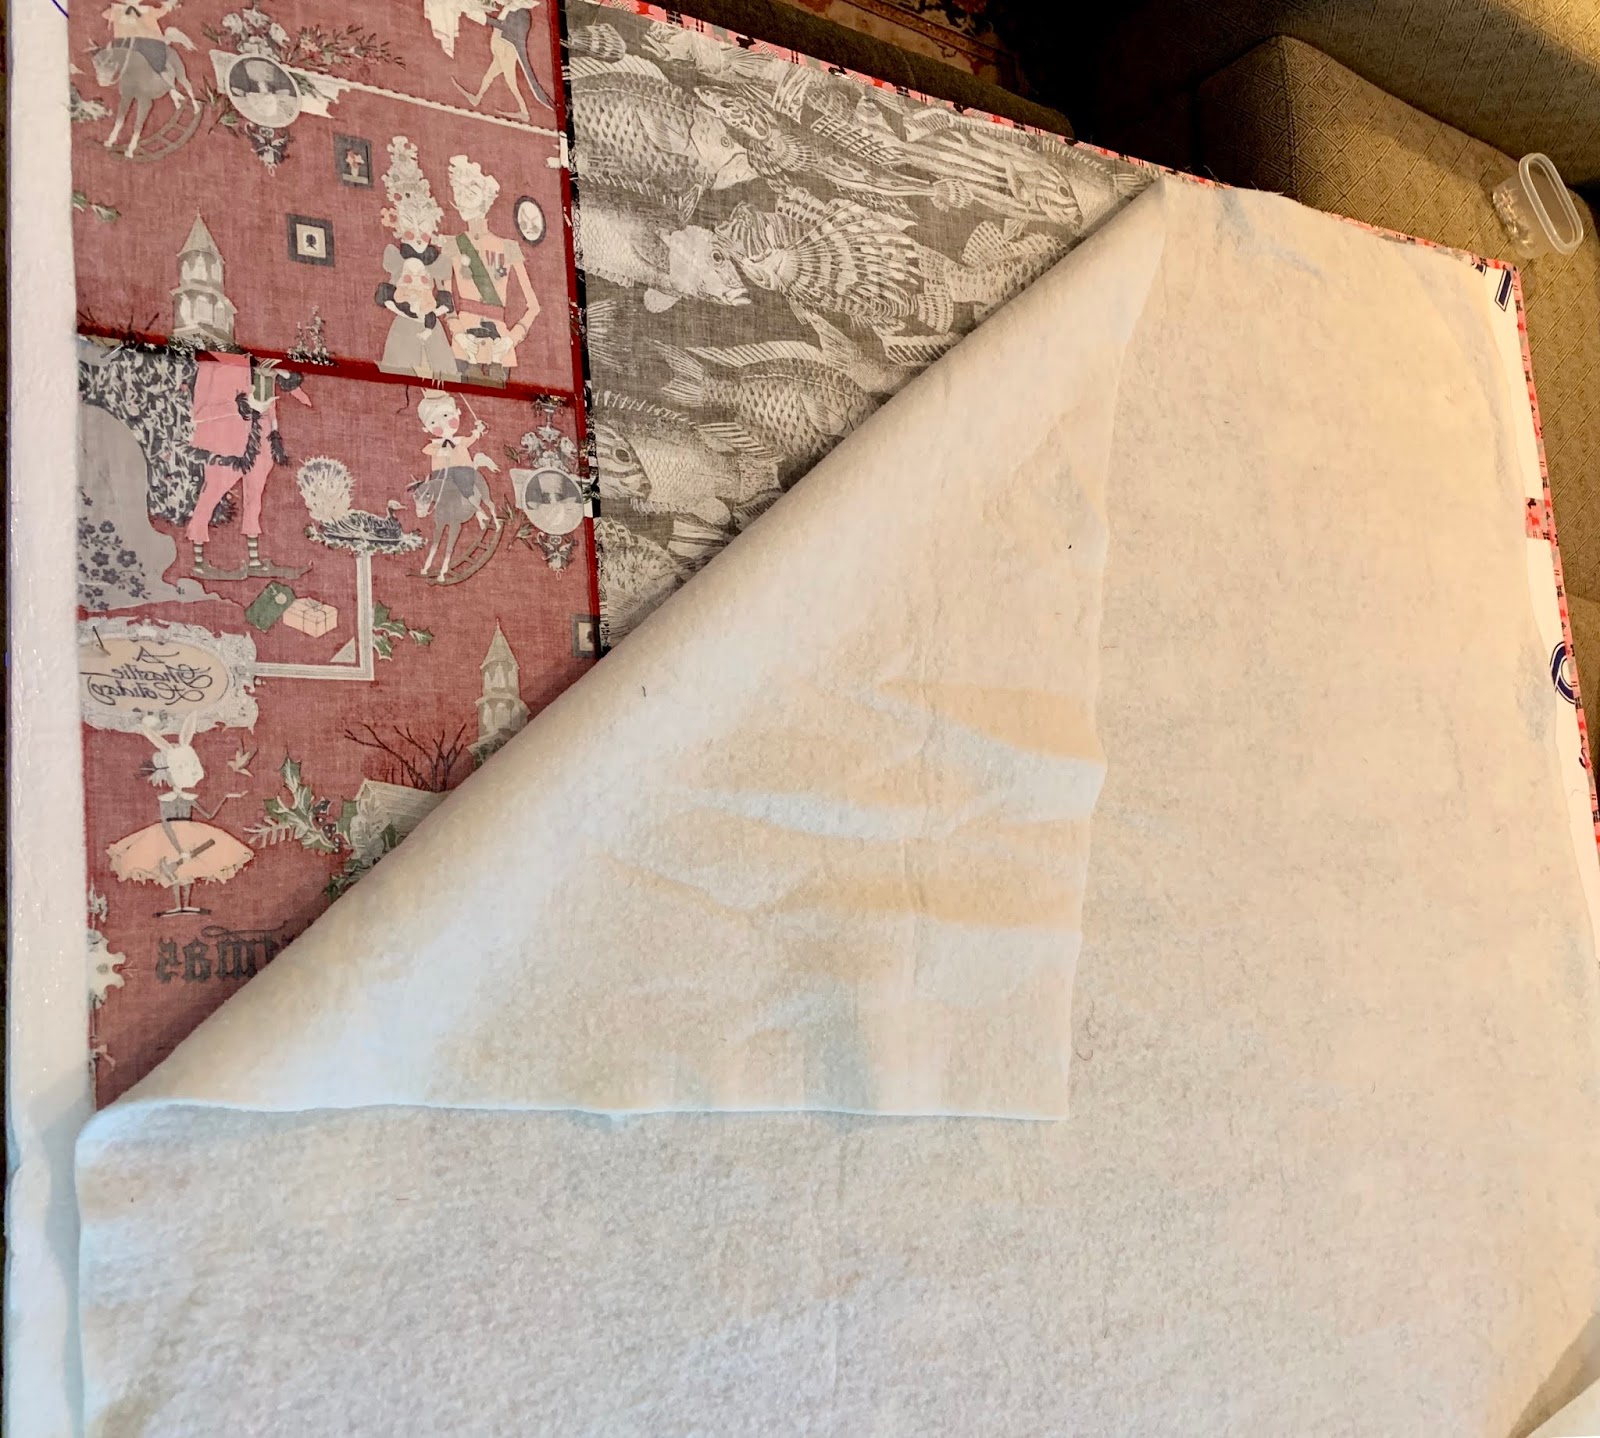
I used large T pins to hold the backing down.
Here is argument for NOT ripping fabric.  See how it pulled the white threads along the edge?  If I had enough fabric, I would have re -trimmed it even more.
After I pinned the backing, I smoothed the batting over it.
and then the top.  (this is when I realized that Abe was upside down.....or my quilt marking was......
I'm using a spray that I got at Joann's or a quilt show.   There are different brands.  Look at this scary label!!  CANCER AGENT.  Look at the list of dangerous ingredients.
Here is the label from a NEW CAN that I bought.  They have changed the ingredients and reduced the dangerous ones.

****PLEASE REPLACE YOUR SPRAY BASTE NOW!!***

I happen to have this good painting mask, so I used it.
I set up an oscillating fan too.  I wanted the airborne particles out of my area as soon as possible.

What I didn't show you (because I was working fast).
  1. I pulled back half of the quit top and batting and sprayed the backing.
  2. I smoothed the batting down, then sprayed the back of the top and batting
  3. I smoothed the top starting in the center.
  4. I repeated these steps for the other end.
I've heard it is a good idea to also press the sandwich.  I'm a little mixed.  I worry that heat might release chemicals again.  Thoughts?

I used my board laying flat like this, but you could also prop it up against the garage or deck railing.

I hope you consider making a board to use outside, as that is the safest place to use spray basting.

Happy Quilting!
xo