Saturday, February 23, 2019

Stitch, Stitched, Stitching

Slow and steady the stitches are filling in the center of my medallion quilt.
 I am enjoying the echo quilting although it is not perfect or even.
 then again, neither am I, lol
A while back I had decided to make some double X blocks for the 70273 Project, but then life got in the way.   After seeing Janet's blog post here,  I recommited and made 6 blocks.
Janet's visual tutorial was great for me.  I did pieced and machine applique blocks.
click here for a link to the Project Website for block directions.

It is an amazing project and I am glad that I am a very small part of it.  Mental illness is like any other other illness, it is not the fault of the afflicted.  We are lucky to live in a time when there are so many treatments and less stigma.

UFO ALERT!!
I felt like sewing and watching TV so I pulled out this long simmering ufo yesterday.
I posted it on IG and many asked what technique I'm using.  I'm just sewing and trimming.  I have a few tricks but that's it - rockin' it old school.
 I makes a complete mess of the sewing room and takes forever to make a block.  Actually I work in a set of two at one time.  Adding 4 strips to each block.
I think this would be a great workshop class as there are lots of tips and it is fun.
I got so close yesterday to finishing those 2 blocks!
Poor Annie - she is sitting up, but still not dressed!  Tomorrow for sure....
Isn't this the sweetest photo of coco?  She looks like she needs a quilt.
It's been icy here in CT so I've been enjoying Hygge time under my Hex Vex quilt.  The big stitch makes it really soft and cozy.
Go on, indulge yourself.   Take a few minutes to read a magazine, listen to music or nap, you'll be glad you did.
xo

Wednesday, February 13, 2019

Doll Quilts Everywhere!

Doll Quilts are everywhere right now. Yay!  Here is my February Modern Mini.

Candyland
I fussy cut stripes and printed fabrics to elevate my candy theme.  I took this snow shot outside this morning.
the backing
I did a drop diamond pattern with orange, yellow and 2 pink lines.  What do you think? 
My new unicorn scissors likes it.
I started with this, but it just was not the right scale for the small quilt.  So I doubled it by added lines each way.
Okay, it is a bit of cheat because it is also a new Lollipop Workshop Sample for my Finished Edge Machine Applique' Workshop.  I made a new one with different options.  I highly encourage pattern manipulation.

I read a few comments about having more binding on the back than the front (never bothered me), so I tried cutting my strip 1 1/2".
I pressed the edge up about 3/8".
It worked just fine.  So if you like less on the back, go for it.
Thank you to all who commented on my Single Binding Tutorial.  It was so nice to see new names in the comment area, sadly many of them were non-reply blogger :(

The little giveaway goes to Kathy who said:

Thanks for the tutorial, Barb, it was very helpful. I understand so much better when I have lots of pictures too.

Please email me (barb.vedder@gmail.com) with your  mailing address.  

 There was a big Doll Quilt swap hosted by Tossed_by_not_sunk     on Instagram. You can search for hashtag #dollquiltswaptbns2019 to see them.  So many cute little quilts.
Did you know that you can join Instagram on a laptop or tablet?  You just sign up in the APP store.  You don't have to share photos to enjoy seeing others.  It is an open platform and very fun. 

I'm going to have a giveaway on my Instagram Account, Fun With Barb on Friday so hurry and sign up and join the fun.  The prize will be this book, 4 FQS and a surprise.
My buddy, Wendy is hosting a Monthly Mini Sew Along for the second year.  check it out on her blog, the Constant Quilter, here and follow to see what we are making each month.  

Here is my next Doll Quilt Project.  It is definitely not modern.
I have wanted to make this quilt since I first saw it in this book:
Here is a peek and to show you that I NEVER get it right the first time.  That is why it is so great that you don't have to as long you get it.  3rd try is often the ticket for me.
Have a great week!   Eat some Chocolate Tomorrow :)
xo

Friday, February 8, 2019

Single Binding Tutorial

Happy Friday!  Welcome to my Single Binding Tutorial.

 This is one of the first quilts that I used a single binding on.  It won a blue ribbon and a Judges Choice Award.

The comment I remember her saying was "the binding is so light and just lovely".  That is why I like a single binding on a small quilt, doll quilt and often wall hangings.   Notice there is no bump, or interruption on the surface of the quilt.
I've made all the photos extra large to make the steps easier to see and understand.

Step 1:
Cut you binding piece 1 3/4" inches by the length of the perimeter of your quilt.  (sorry there are so many crazy lines lol)
Step 2:
Fold one edge up 1/2" and press well.  I developed this step here to help in the final steps of the process.  You'll see its importance.
Step 3:
Sew with a 1/4" seam allowance, stitch the unfolded edge of the binding with matching thread.  I start at the edge of the quilt.
Step 4:
Before you arrive at the first corner, make a mark 1/4" inch from each edge with a pencil or in this case a Sewline white marker.
Step 5:
Stitch to the mark, pivot your quilt then reverse stitch to the edge.
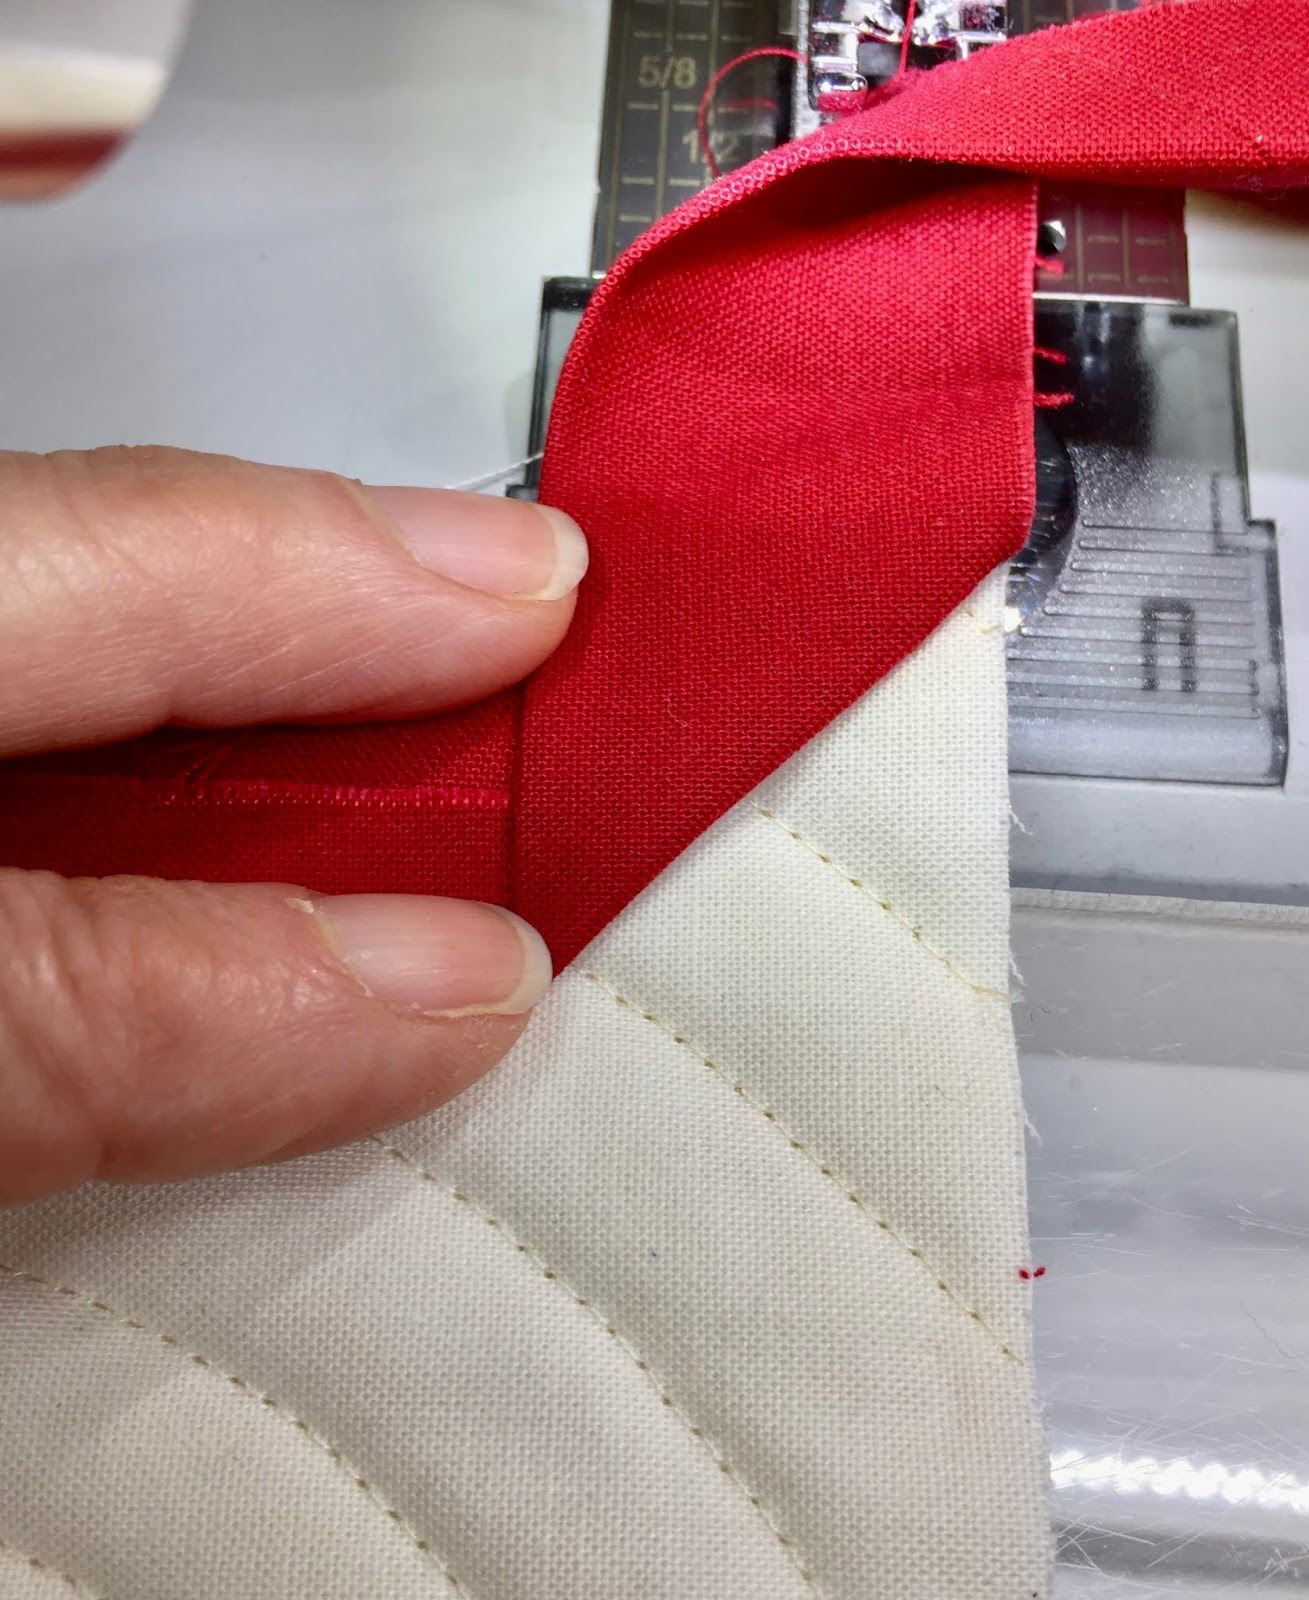
 Step 6:
Life the needle and pull your work out about 2 inches.  Fold your binding up making a 45* angle, then fold it back down, lining up the edges.
Step 7:
Continue stitching through all layers.  I do not use pins because I find they bend the work and I don't want to run the risk of hitting one with my needle.  It is really bad for your sewing machine.
Step 8:
When I am nearing the end where I started, I finger press the binding around the quilt and pin it.  **Why start and stop at the edge?  On a piece that is only 9" I don't want to hassle with attaching ends in the middle.  I find this less distracting**
Here is how it looks finished.
Okay, let's take a little break.  Coco took a break from winter this week by sitting on the stoop and wondering where the snow is.  Me too, coco.
Okay now to press, glue, press and finish.

Step 9:
I press all binding away from the quilt on the top so it is nice and smooth.
Step 10:
Flip the quilt over.   It will look something like this.  Okay, so the outside stitching isn't perfect, but the corner of the stitching looks good which is what matters.
Now press the binding, folding the corners.  This where the pre-pressing really makes things easier!  It is already pressed and ready for the hand stitching - yay!
Step 11:
I glue the binding in place using a micro-tip bottle with non-toxic school glue.
I sell these little 1 oz. refillable bottles in my Etsy Store here. There are many brands and bottles available online and in quilt shops.
Step 12:
I like to clip my corners to reduce bulk.  I do this in two ways; I clip the batting and binding.  CAUTION:  take care not to clip any stitching.  I did this once and cut a hole in my corner :(
I also clip some of the tail end of the binding.
 I put a dot of glue in the corner then press to secure.
Nice and neat (a little out of focus, sorry)
Step 13:
Stitch the binding down using matching thread.
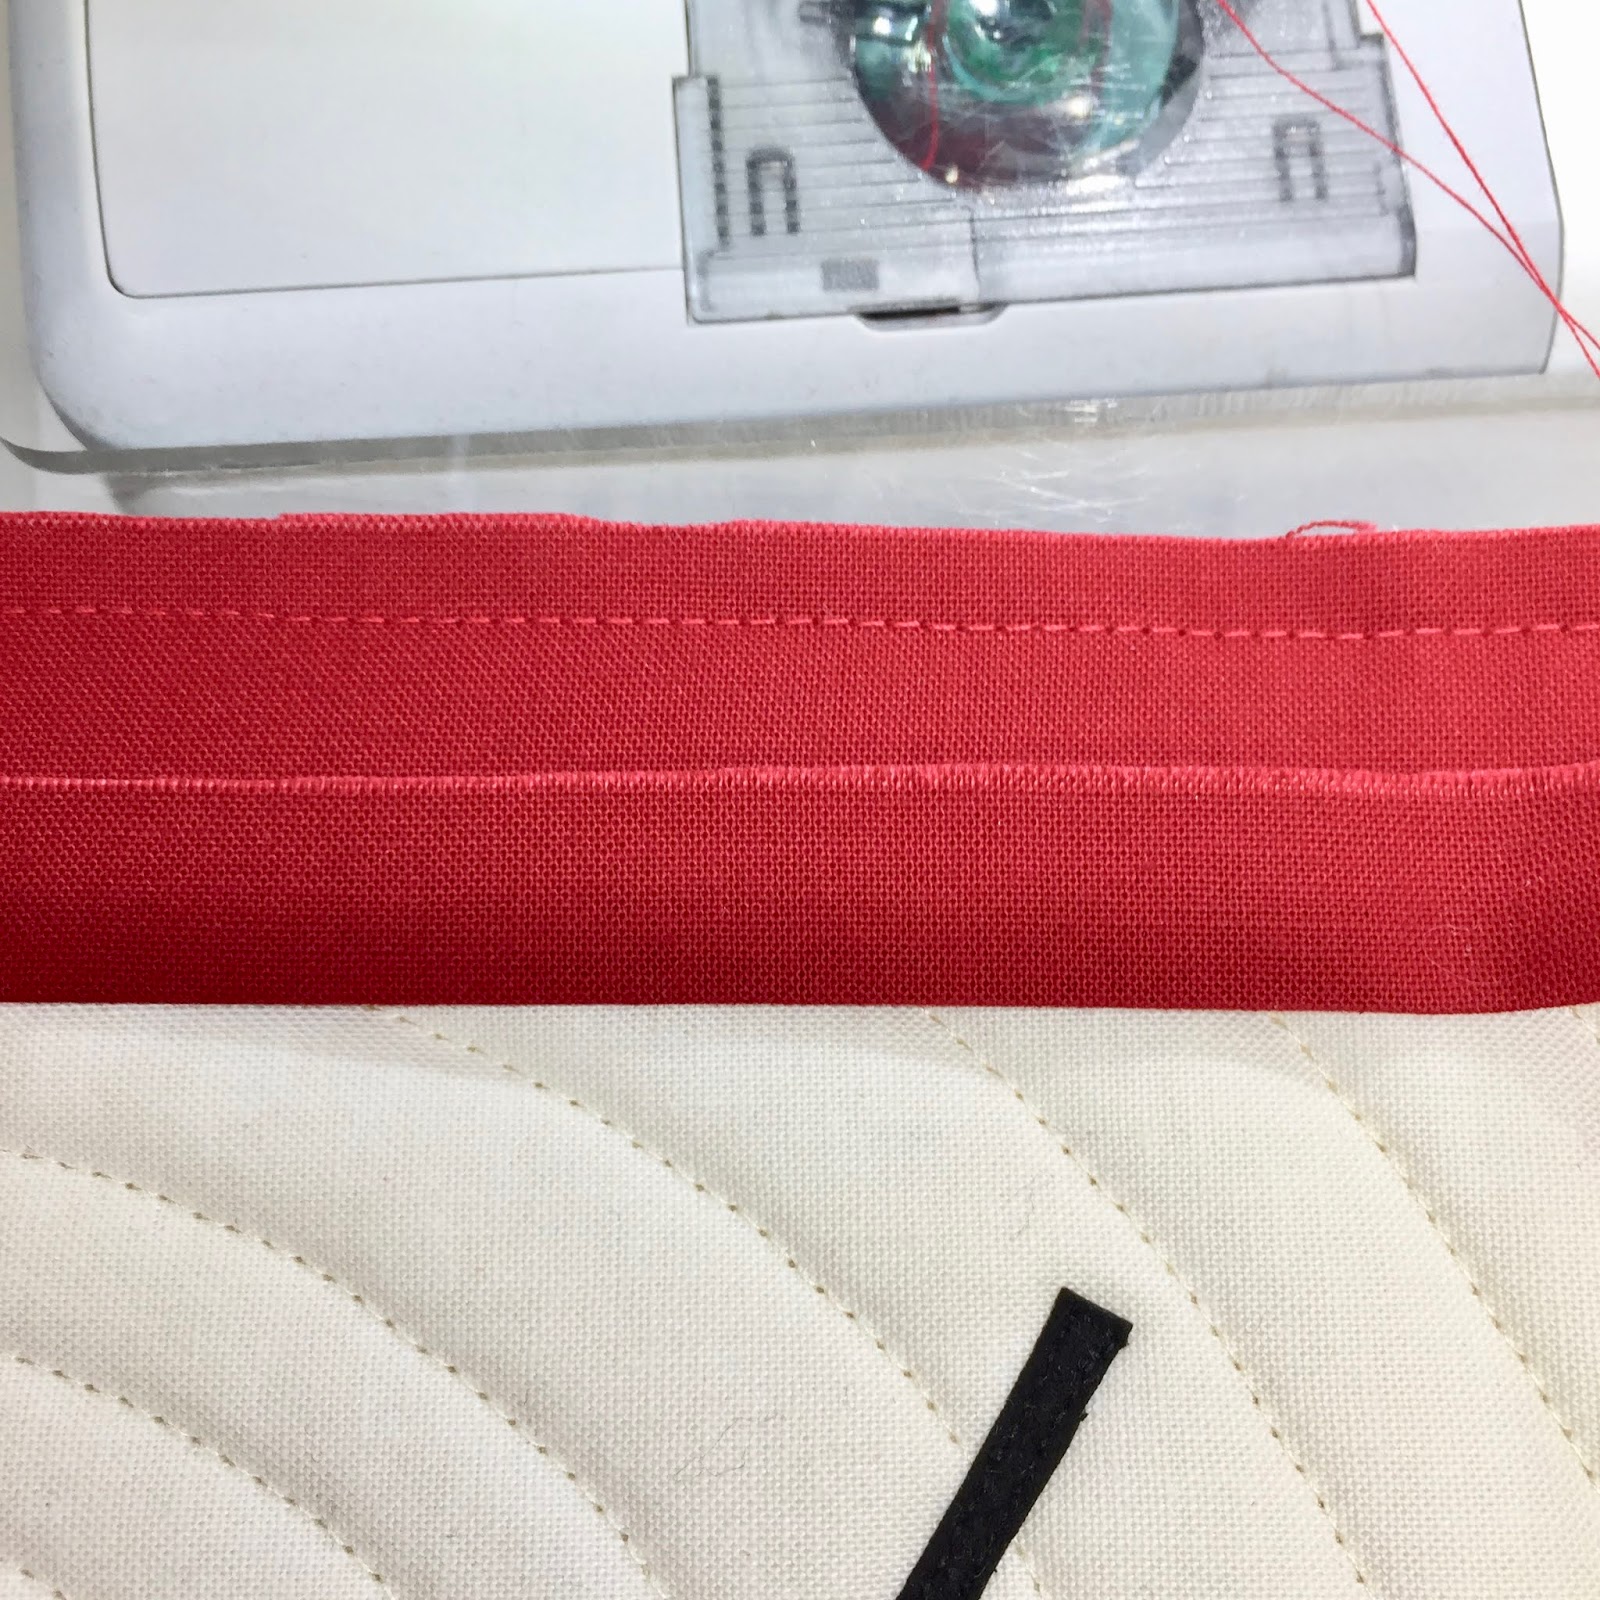
Viola'!
Nice and smooth, with no big bump.  yay!
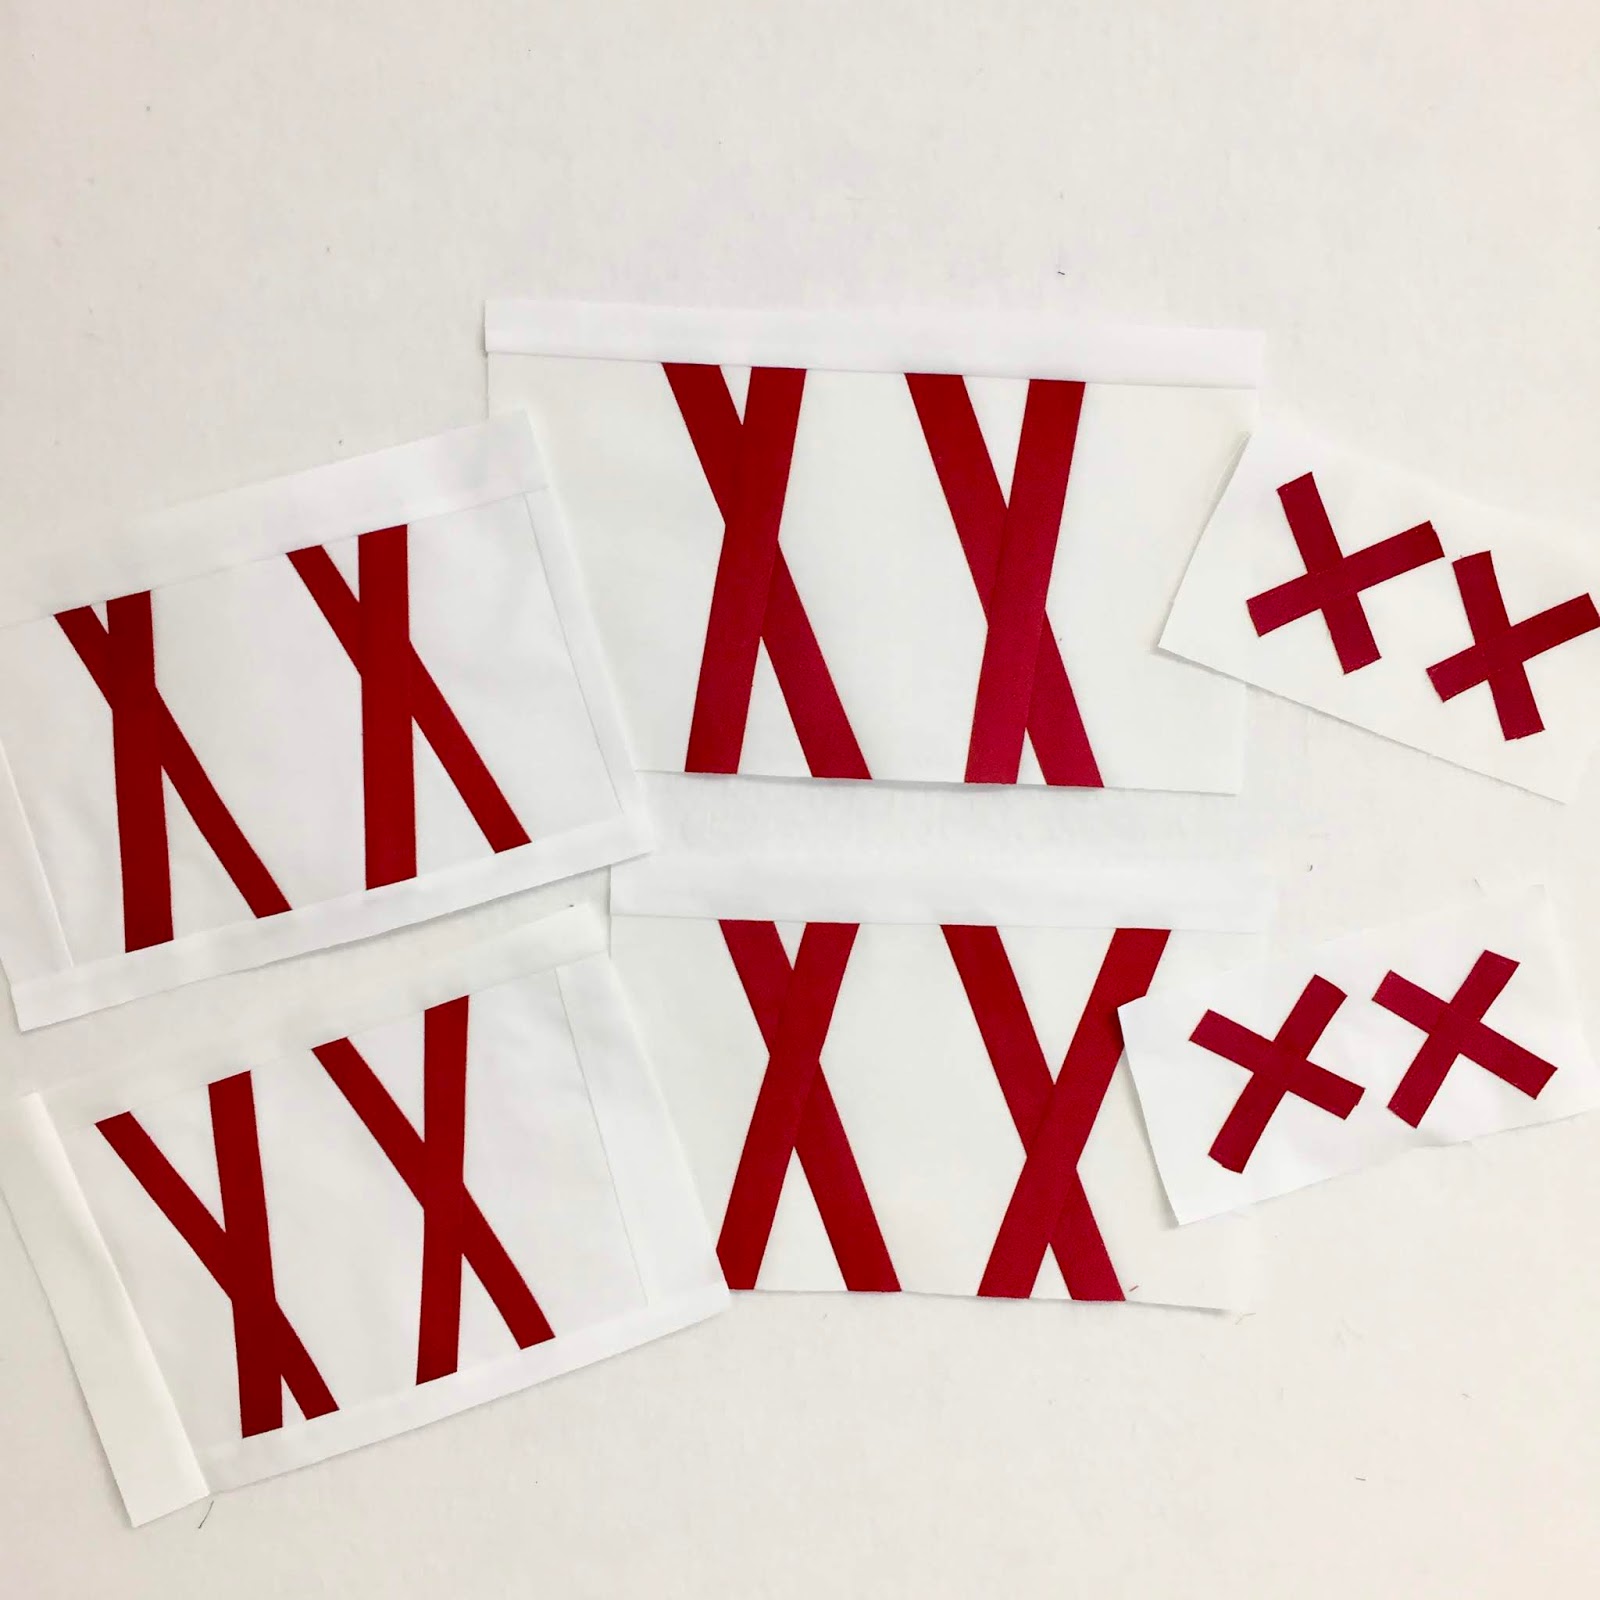
 You might be wondering about this block.  It is one of my word challenge blocks that I will share soon.
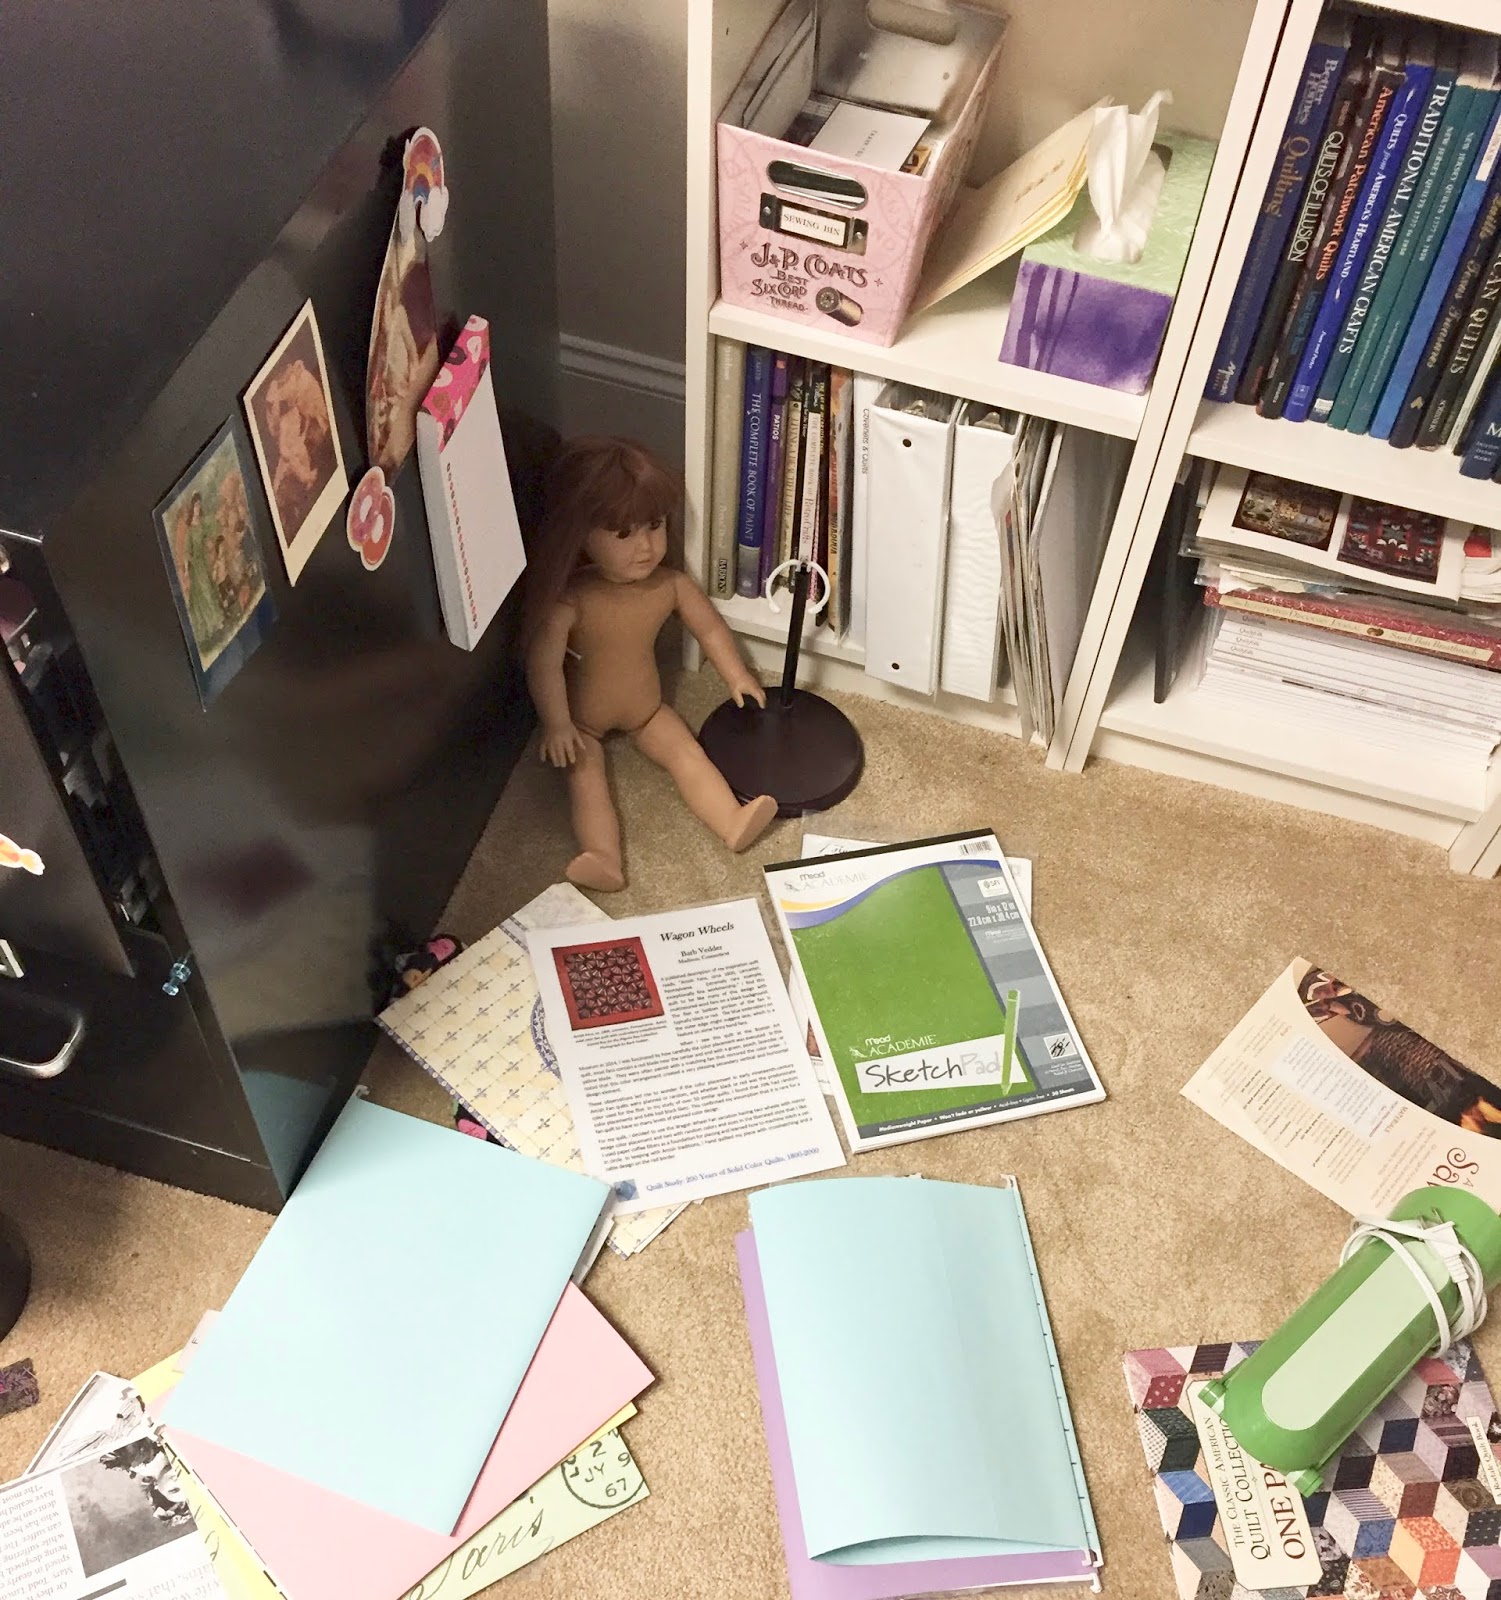
My sewing room is a disaster!!!
 Yikes!
 That looks like a dead doll oh my!
Guess I know what I'll be doing this weekend!

Giveaway:  I'll send you a bottle of glue to try this method, all you have to do is leave a message today and let me know if you found the tutorial useful.  I'll pick a winner next week.

Next week I'm also having a giveaway with a book and fabric!

Happy Friday
xo