
Oh My Stars Swap Tutorial
Hello Fun Swappers! Here we go!

Basic Information:
- Each Block will finish at 6" (6 1/2" unfinished)

Here are the pieces you need to cut for each block:
4 - 2" squares of background (muslin for repro, white for modern)

1 - 3 1/2" square for the center

4 - 3 1/2" x 2" Flying Geese Units
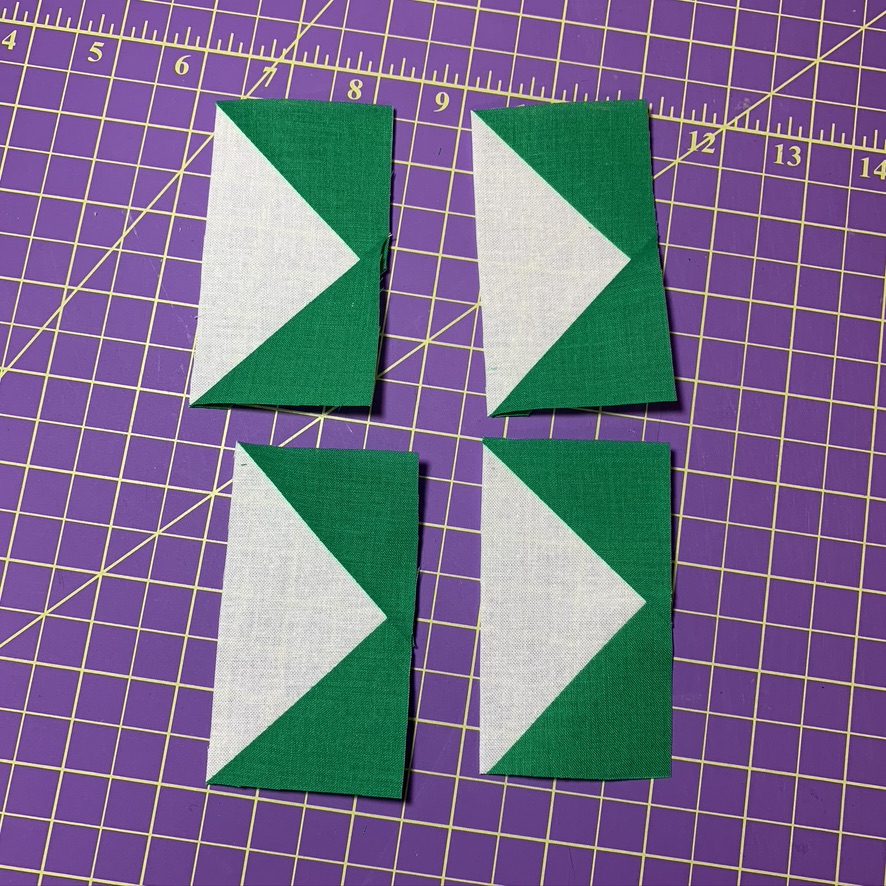
To Make the Flying Geese Units:
(TEST ONE BLOCK FOR SIZE FIRST)!
The cutting instructions are:
4 - 2 3/8" squares for the star point fabric
1 - 4 3/8" Square from the background fabric

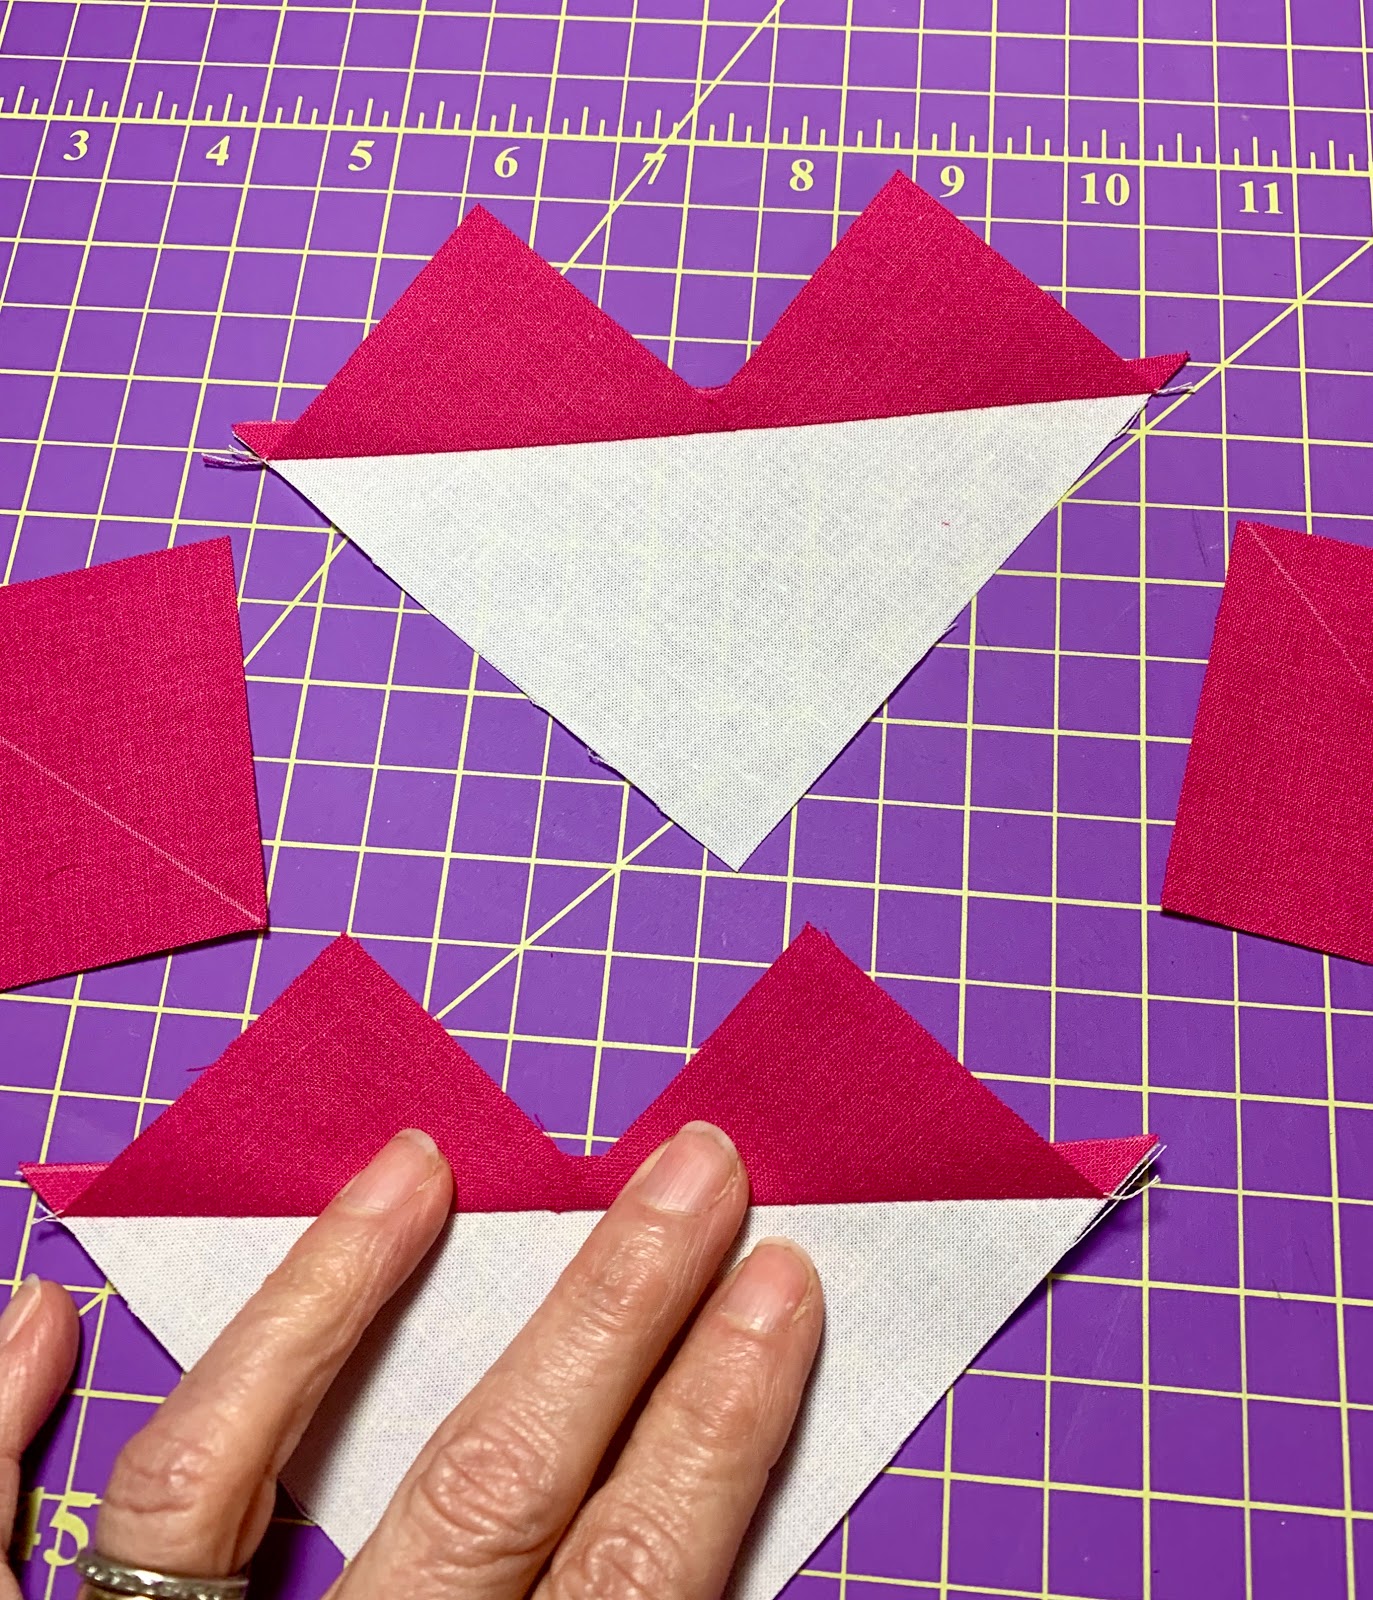
Mark diagonal lines on the small squares from corner to corner and lay them (right sides together) on the larger square.
Here I used a simple lead mechanical pencil.

I do at least two sets at a time, more if I have them prepped. If you want to use pins, I pin way to the side so I can't hit them with my needle.
Sew an accurate 1/4" seam away from both sides of the drawn line.


I do like to use a little starch on piecing to keep things nice and straight.


TRIM THE DOG EARS AND DOUBLE CHECK THE SIZE TO BE SURE IT MEASURES 3 1/2" x 2"


4 - 2 1/2" squares for the points
1 - 4 3/8" square for the background

If you use the revised size, you will probably have to trim a little. Please use a good ruler with clear lines and be sure you have a 1/4" seam allowance on this side of the unit. See below↓↓


Layout out the block and sew into 3 horizontal rows.


Join the rows to complete the block

The back will look like this before pressing.

Press the last 2 seams OPEN so the block lays flat.
It will look like this (you can see that I very carefully graded the seam by carefully trimming the green fabric so it won't show through to the front.)


1 comment:
9-12-2021 Finally these swap stars are going into a baby quilt for a friend who at 46 is pregnant! Her other "baby" is 24! Needless to say this is a surprise pregnancy.....so I thought OH MY STARS would be the perfect gift :0) I do hope we have another swap or sew along soon. Thanks Barb for all your quilting inspiration!
Post a Comment